remitter


Example
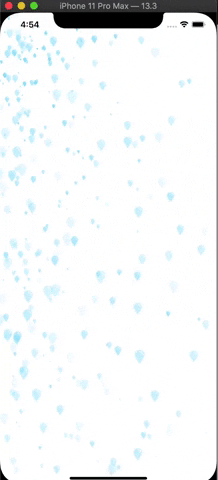
To run the example project, clone the repo, and run pod install from the Example directory first.
Requirements
- iOS 11.0+
- Xcode 10.0
- Swift 5
Installation
CocoaPods
remitter is available through CocoaPods.
Add the following line to your Podfile:
pod 'remitter'Manual
Just copy these files to your project
Usage
Initial Remitter
class ViewController: UIViewController {
    var remitter: Remitter!

    override func viewDidLoad() {
      // initial remitter in a view without offset
      remitter = Remitter(in: view, cellImage: UIImage(named: "image")!)

      // initial remitter with enum offset
      remitter = Remitter(in: view, offsetType: .normal, cellImage: UIImage(named: "image")!)

      // initial custom remitter
      remitter = Remitter(in: view, offsetType: .normal, layerPosition: .zero, layerShape: .rectangle, cellImage: UIImage(named: "image")!, birthRate: 800, lifetime: 6, color: nil, velocity: 100, velocityRange: 400, emissionRange: 10, scale: 0.3)

    }
}
You can basically control with default functions
// stops remitter immediately
remitter.stop(animated: true)

// stops remitter after given seconds
remitter.stopAfter(seconds: 10, animated: true)

// resume remitter immediately
remitter.resume(animated: true)

// resume remitter after given seconds
remitter.resumeAfter(seconds: 15, animated: true)
Note: No need to call resume function when you initialized remitter
For more code examples on remitter usage see the example project.
License
remitter is available under the MIT license. See the LICENSE file for more info.