URWeatherView


What is this for?
Showing some kinds of the weather effect, written in Swift3.
This code style is the Protocol Oriented Programming.
To show the vector animation made by After Effect, Lottie can be used instead of UIImageView.
Before using URWeatherView, Which resources do you need?
1. main image or main lottie resource (Required)
- The weather effect's main target
- apply tone curve filter or gradient mask
2. backgroundImage of main (Optional)
- The weather effect's background Image
3. upperImage of main (Optional)
- The weather effect's upper Image
- If you want extra effect, you can use it.
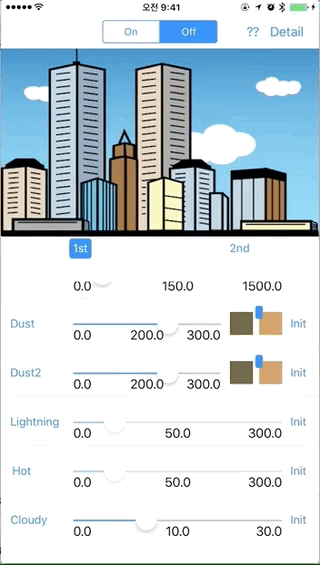
Usable Weather Effects
1. Snow

2. Rain

3. Dust
- #1

- #2


4. Lightning
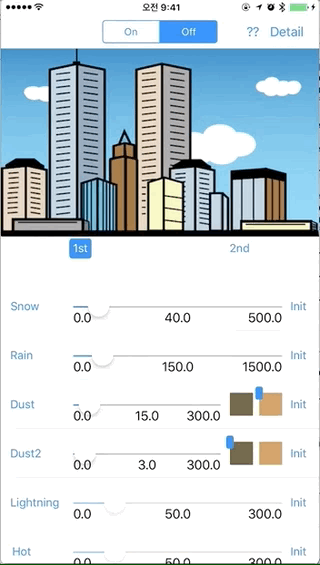
5. Hot

6. Cloudy
Used library stack
SpriteKit
CIFilter & CIKernel & Core Imager Kernel Language(like GLSL)
Lottie
- I needed to apply color filter for the weather effect.
So, I made custom Lottie library to get some properties from LOTAnimationView. - It's lottie-ios-extension.
Requirements
- iOS 9.0+
- Swift 3.0+
Installation
Cocoapods
Add the following to your Podfile.
pod "URWeatherView"
Dependency
lottie-ios-extension
(But, you don't need to care about this, when using URWeatherView. It's already included the dependency.)
Carthage
Add the following to your Cartfile.
github "jegumhon/URWeatherView"
Dependency
lottie-ios-extension
(But, you don't need to care about this, when using URWeatherView. It's already included the dependency.)
Examples
See the Example folder.
Run pod install and open the .xcworkspace.
(The Example source is made for using Carthage.
So, you remove the linked frameworks in General of the project settings.
And then, you remove the run script of Carthage in Build Phases of the project settings.)
or
Run carthage update and open the .xcodeproj.
Usage
import URWeatherView1. initialize the weather view
    // for example...

    // You can use the xib or storyboard to show the URWeatheView...
    @IBOutlet var mainView: URWeatherView!

    override func viewDidLoad() {
        super.viewDidLoad()

        // set the main Image to apply the weather effects...
        // and set the backgroundImage, if you want to apply...
        self.mainView.initView(mainWeatherImage: #imageLiteral(resourceName: "buildings"), backgroundImage: #imageLiteral(resourceName: "bluesky.en"))

        // or, to use Lottie, do like below..
        // self.mainView.initView(dataNameOfLottie: "data", backgroundImage: #imageLiteral(resourceName: "bluesky.en"))
    }
1.1. How to use Lottie
- You can find the detail Lottie usage guide at the Lottie-iOS
- add the lottie files in the project, and then just use the json file name to load the Lottie View
2. show or remove the weather effects
    func showWeather() {
        let weather: URWeatherType = .cloudy
        self.mainView.startWeatherSceneBulk(weather, debugOption: true, additionalTask: {
            // task what you want to do after showing the weather effect...
        })
    }

    func removeWeather() {
        self.mainView.stop()
    }
3. 😀 Configurable parameters of URWeatherView 😀
Using or composing the functions in the URWeatherView, you can customize the weather effects. The default configurable parameters are like below.
- birthRate : The particle's birth rate. This is used in the effects. e.g. Snow, Rain, Dust, Cloud.
- upperImage : The image onto the weather view. (optional)
- duration : The duration(in second). applied some effects among the URWeatherView's effects.
- debugOption : enable to show the debug option of SpriteKit's. Default is "false". This is for the SpriteKit frame checking.
- cloud effect's option : especially, you can customize the cloud effect with this structure. The sample codes is included in the example codes. Or you can see the codes below.
    case .cloudy:
    //    self.mainView.startWeatherSceneBulk(cell.weather, duration: 33.0, debugOption: self.segment.selectedSegmentIndex == 0)

        self.mainView.initWeather()
        self.mainView.setUpperImageEffect(customImage: nil)
        let option = UREffectCloudOption(CGRect(x: 0.0, y: 0.5, width: 1.0, height: 0.5), angleInDegree: 0.0, movingDuration: 33.0)
        self.mainView.startWeatherScene(cell.weather, duration: 33.0, userInfo: [URWeatherKeyCloudOption: option])
To-Do
- exchange the Core Image Kernel to Metal.
License
URWeatherView is available under the MIT license. See the LICENSE file for more info.
