Sceyt Chat UIKit for iOS
The Sceyt Chat UIKit is a comprehensive toolkit designed for chat integration. With prebuilt and customizable UI components, it allows for quick integration of a fully-featured chat into your iOS application with minimal coding.
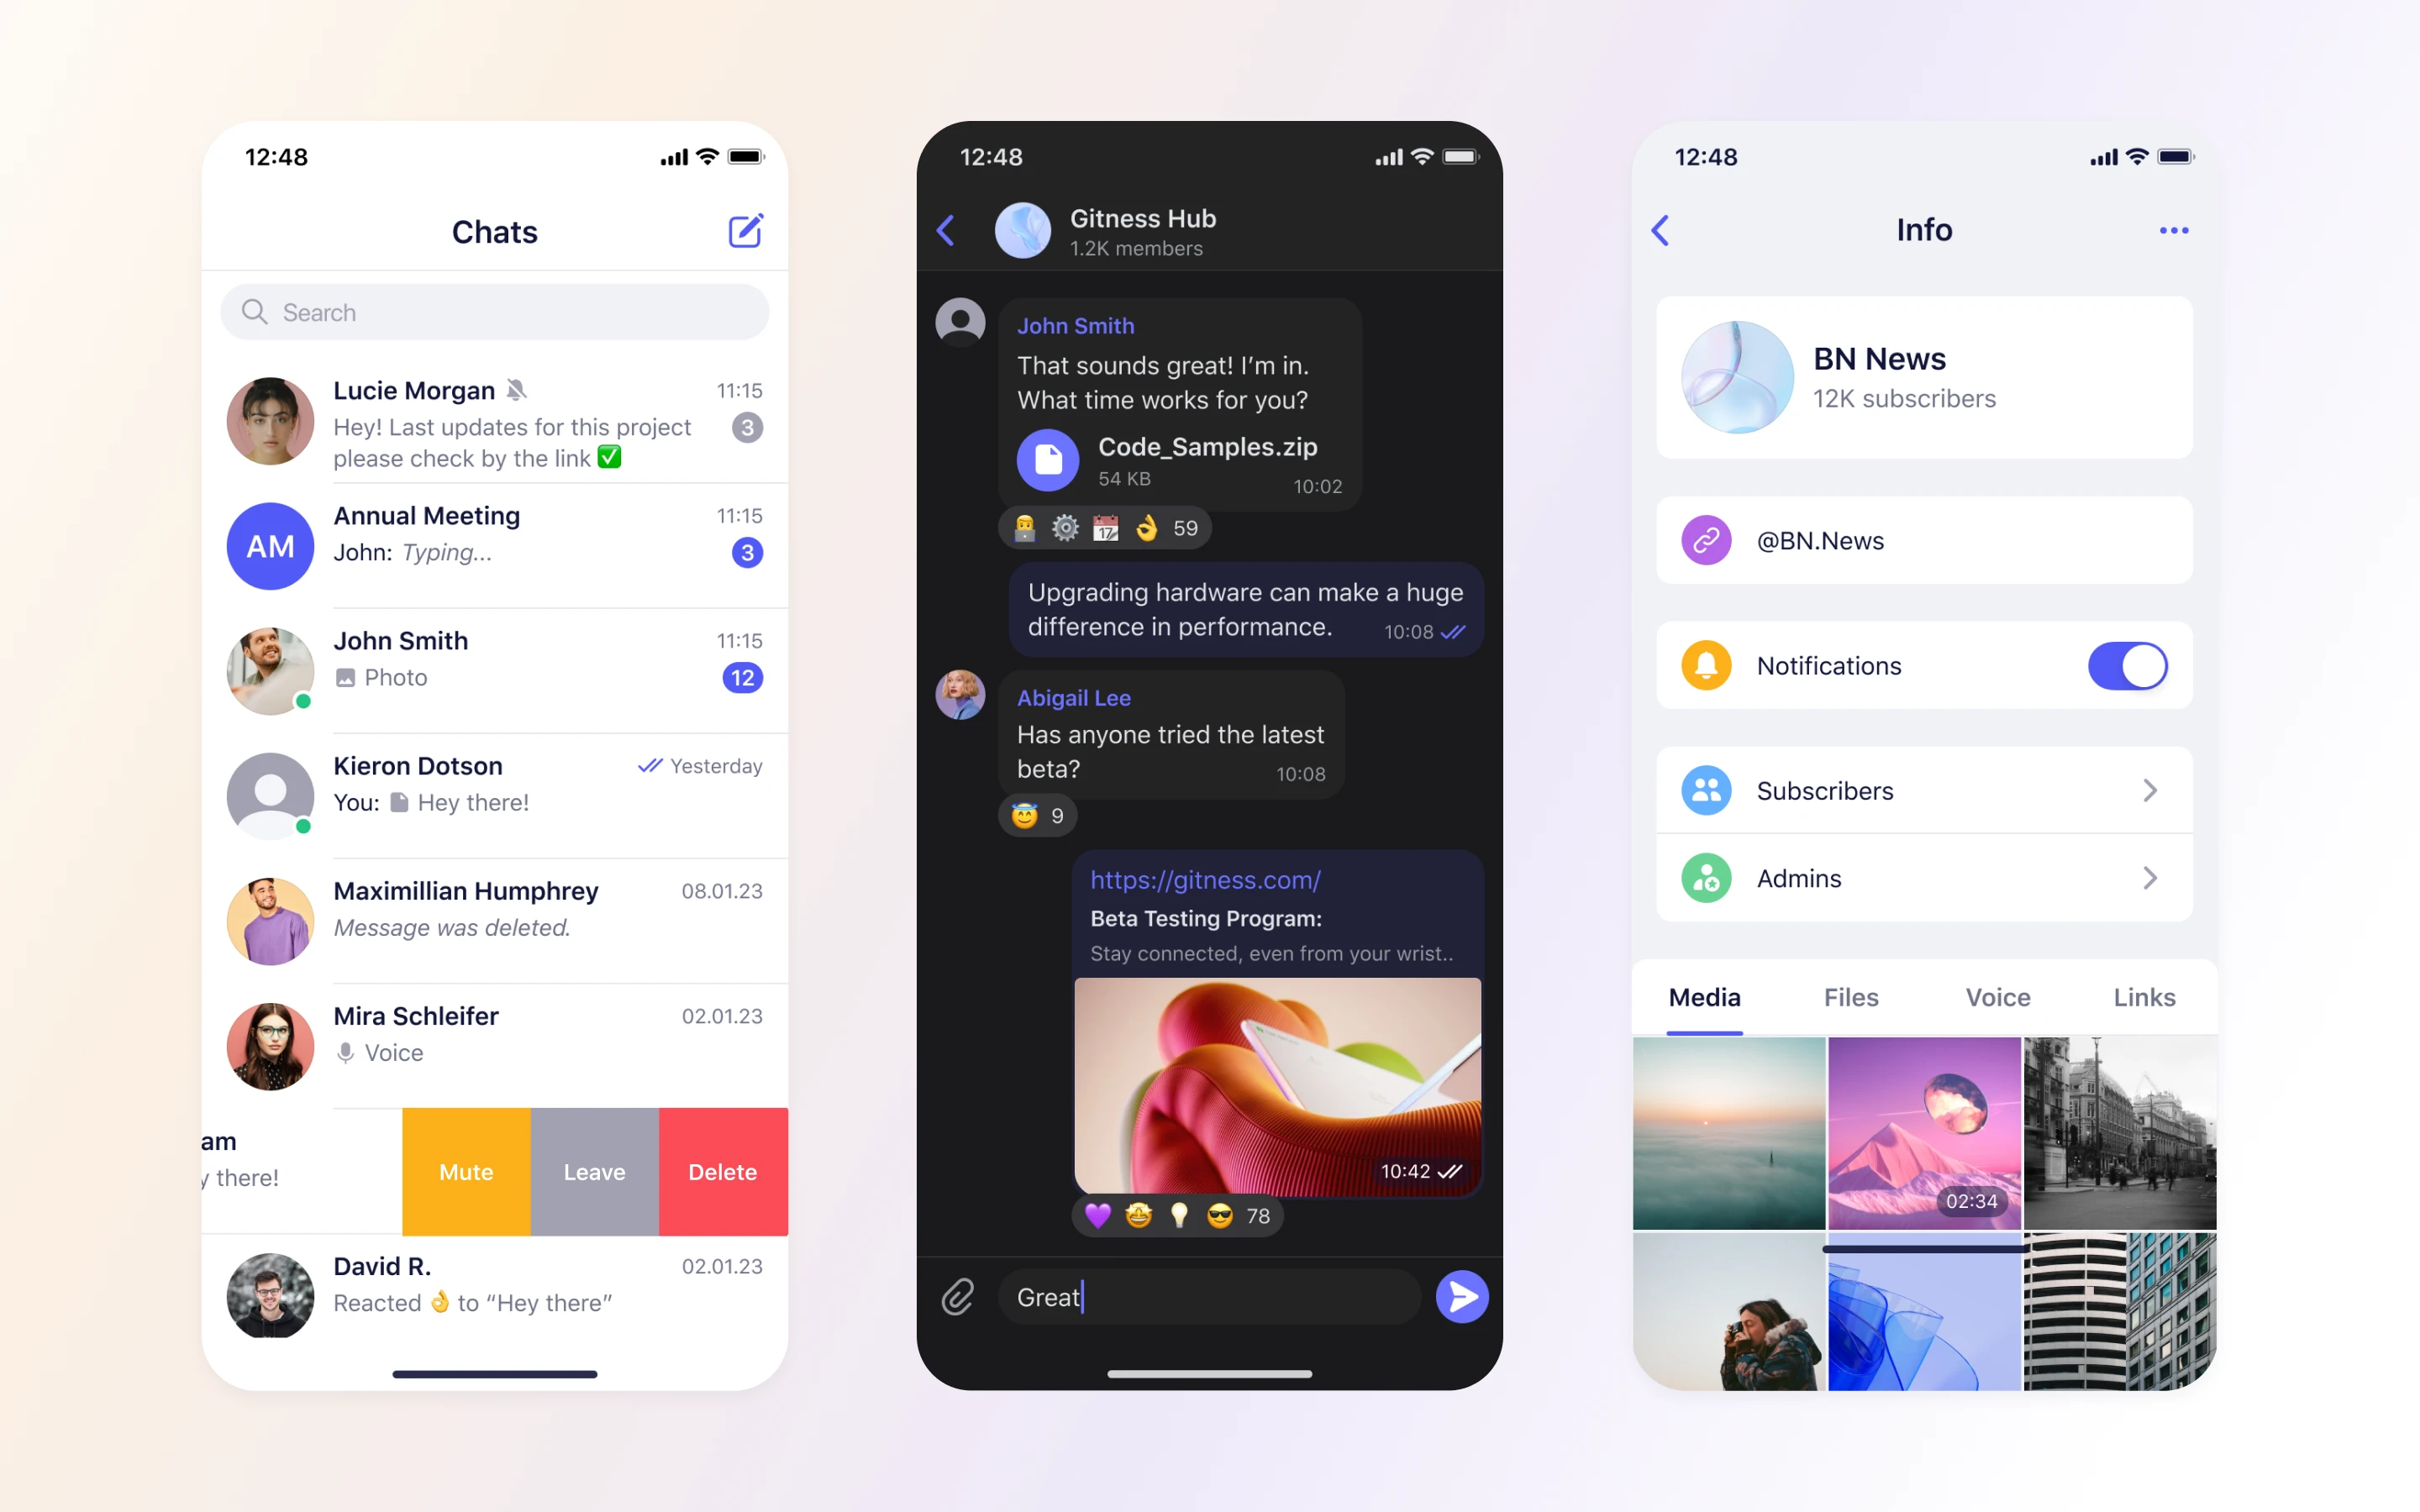
Table of Contents
Features
- Offline Support: Automatically stores messages and new chats when offline, and synchronizes them upon reconnection.
- Photo & Video resizer: On-device Photo and Video resizer for faster delivery with adjustable quality parameters.
- Voice Messages: Built-in support for voice message recording and play back.
- Light, Dark Mode: Supports both themes, adapting to user preferences for a consistent experience.
Requirements
Minimal iOS and Swift version requirements:
- iOS 13+
- Swift 5.7+
Installation
You can integrate Sceyt Chat UI Kit into your Swift iOS project using multiple dependency managers.
Swift Package Manager
The Sceyt Chat UI Kit is available as a Swift Package. To add it to your project, follow these steps:
- In Xcode, open your project.
- Navigate to your project settings.
- Go to the "Package Dependencies" tab.
- Click the "+" button to add a new package dependency.
- Enter the following URL:
https://github.com/sceyt/sceyt-chat-ios-uikit.git. - Add the Sceyt Chat UI Kit package to your project.
CocoaPods
To add Sceyt Chat UIKit as a dependency using CocoaPods, follow these steps:
- Ensure you have CocoaPods installed on your system.
- Create a Podfile in your project directory (if you don't have one already) by running:
pod init- Edit your Podfile to include Sceyt Chat UIKit:
platform :ios, '13.0'  # Specify your minimum iOS version if different

target 'YourApp' do
  use_frameworks!

  # Add Sceyt Chat UIKit as a dependency
  pod 'SceytChatUIKit', :git => 'https://github.com/sceyt/sceyt-chat-ios-uikit.git'
end- Install the dependencies by running:
pod installUsage
Before starting the integration, it is highly recommended to explore our example apps to observe how Sceyt Chat UIKit is initialized and utilized in real applications. These examples provide valuable insights into the integration process.
- Initialize the Sceyt Chat UIKit with the API URL and Application ID of your Sceyt application in your app's
AppDelegateor an appropriate initialization point:
func application(_ application: UIApplication, didFinishLaunchingWithOptions launchOptions: [UIApplication.LaunchOptionsKey: Any]?) -> Bool {

        // The URL of the Sceyt Chat application where UIKit app connects.
        let apiUrl = "API_URL"
        // The ID of the Sceyt Chat application used by the UIKit app.
        let appId = "APP_ID"

        SCTUIKitConfig.initialize(apiUrl: apiUrl, appId: appId)

        // Set the current user's ID.
        SCTUIKitConfig.currentUserId = "CURRENT_USER_ID"

        return true
}- After initializing the Sceyt Chat UIKit and setting up the configuration, the next step is to establish a connection to Sceyt Chat API.
func application(_ application: UIApplication, didFinishLaunchingWithOptions launchOptions: [UIApplication.LaunchOptionsKey: Any]?) -> Bool {

        // The user's access token for the Sceyt Chat API.
        let accessToken = "USER_ACCESS_TOKEN"

        SCTUIKitConfig.connect(accessToken: accessToken)

        return true
    }
Customization
Basic
Customizing the appearance of the Sceyt Chat UIKit is easy and allows you to tailor it to your application's design. You can customize fonts, colors, icons, and any component, including channel and message cells, message input text box, and many more.
These following customizations can be applied during the Sceyt Chat UIKit initialization, ensuring that your preferred settings are in place from the start. Here's how you can customize various aspects:
func application(_ application: UIApplication, didFinishLaunchingWithOptions launchOptions: [UIApplication.LaunchOptionsKey: Any]?) -> Bool {

        ...

        SCTUIKitConfig.initialize(apiUrl: apiUrl, appId: appId)

        // Set the current user's ID.
        SCTUIKitConfig.currentUserId = "CURRENT_USER_ID"

        ...

        // To change the fonts used in the UIKit, you can use the `Appearance.Fonts` property.
        // For example, to set a custom font:
        Appearance.Fonts.regular = UIFont(name: "CUSTOM_FONT", size: 10)

        // Customizing colors is straightforward with the Appearance.Colors property.
        // For instance, to change the kit's blue color:
        Appearance.Colors.kitBlue = UIColor.blue

        // You can also replace icons or images by using the Appearance.Images property.
        // For example, to change the chat action camera icon:
        Appearance.Images.chatActionCamera = UIImage(named: "camera")

        return true
    }
Comprehensive
For comprehensive customization, create custom subclasses and override relevant functions during the UIKit initialization. This allows you to adjust default values and appearance according to your preferences.
class DemoChannelCell: ChannelCell {

    override func setupAppearance() {

        super.setupAppearance()

        messageLabel.textColor = .green
        subjectLabel.font = UIFont.systemFont(ofSize: 14)

    }

    override func deliveryStatusImage(message: ChatMessage?) -> UIImage? {

        guard let message = message, !message.incoming else { return nil }

        switch message.deliveryStatus {
        case .pending:
            return UIImage(named: "pendingMessage")
        case .sent:
            return UIImage(named: "sentMessage")
        case .received:
            return UIImage(named: "deliveredMessage")
        case .displayed:
            return UIImage(named: "readMessage")
        case .failed:
            return UIImage(named: "failedMessage")
        }
    }
}