Popper


What it does ?
Popper helps you create a draggable View Controller.
What does Draggable mean in this context?.
Draggable: The presented view will have ability to be vertically dragged across the screen. You will be able to use the pan gestures to move the presented view through different draggable states.
The presented View is going to have three draggable or sticky states
- Open
- Midway
- Collapsed
This sort of UI is specially useful when you would like to create a reactive app where changes in a modally presented view are reflected in the presenting view.
For example:
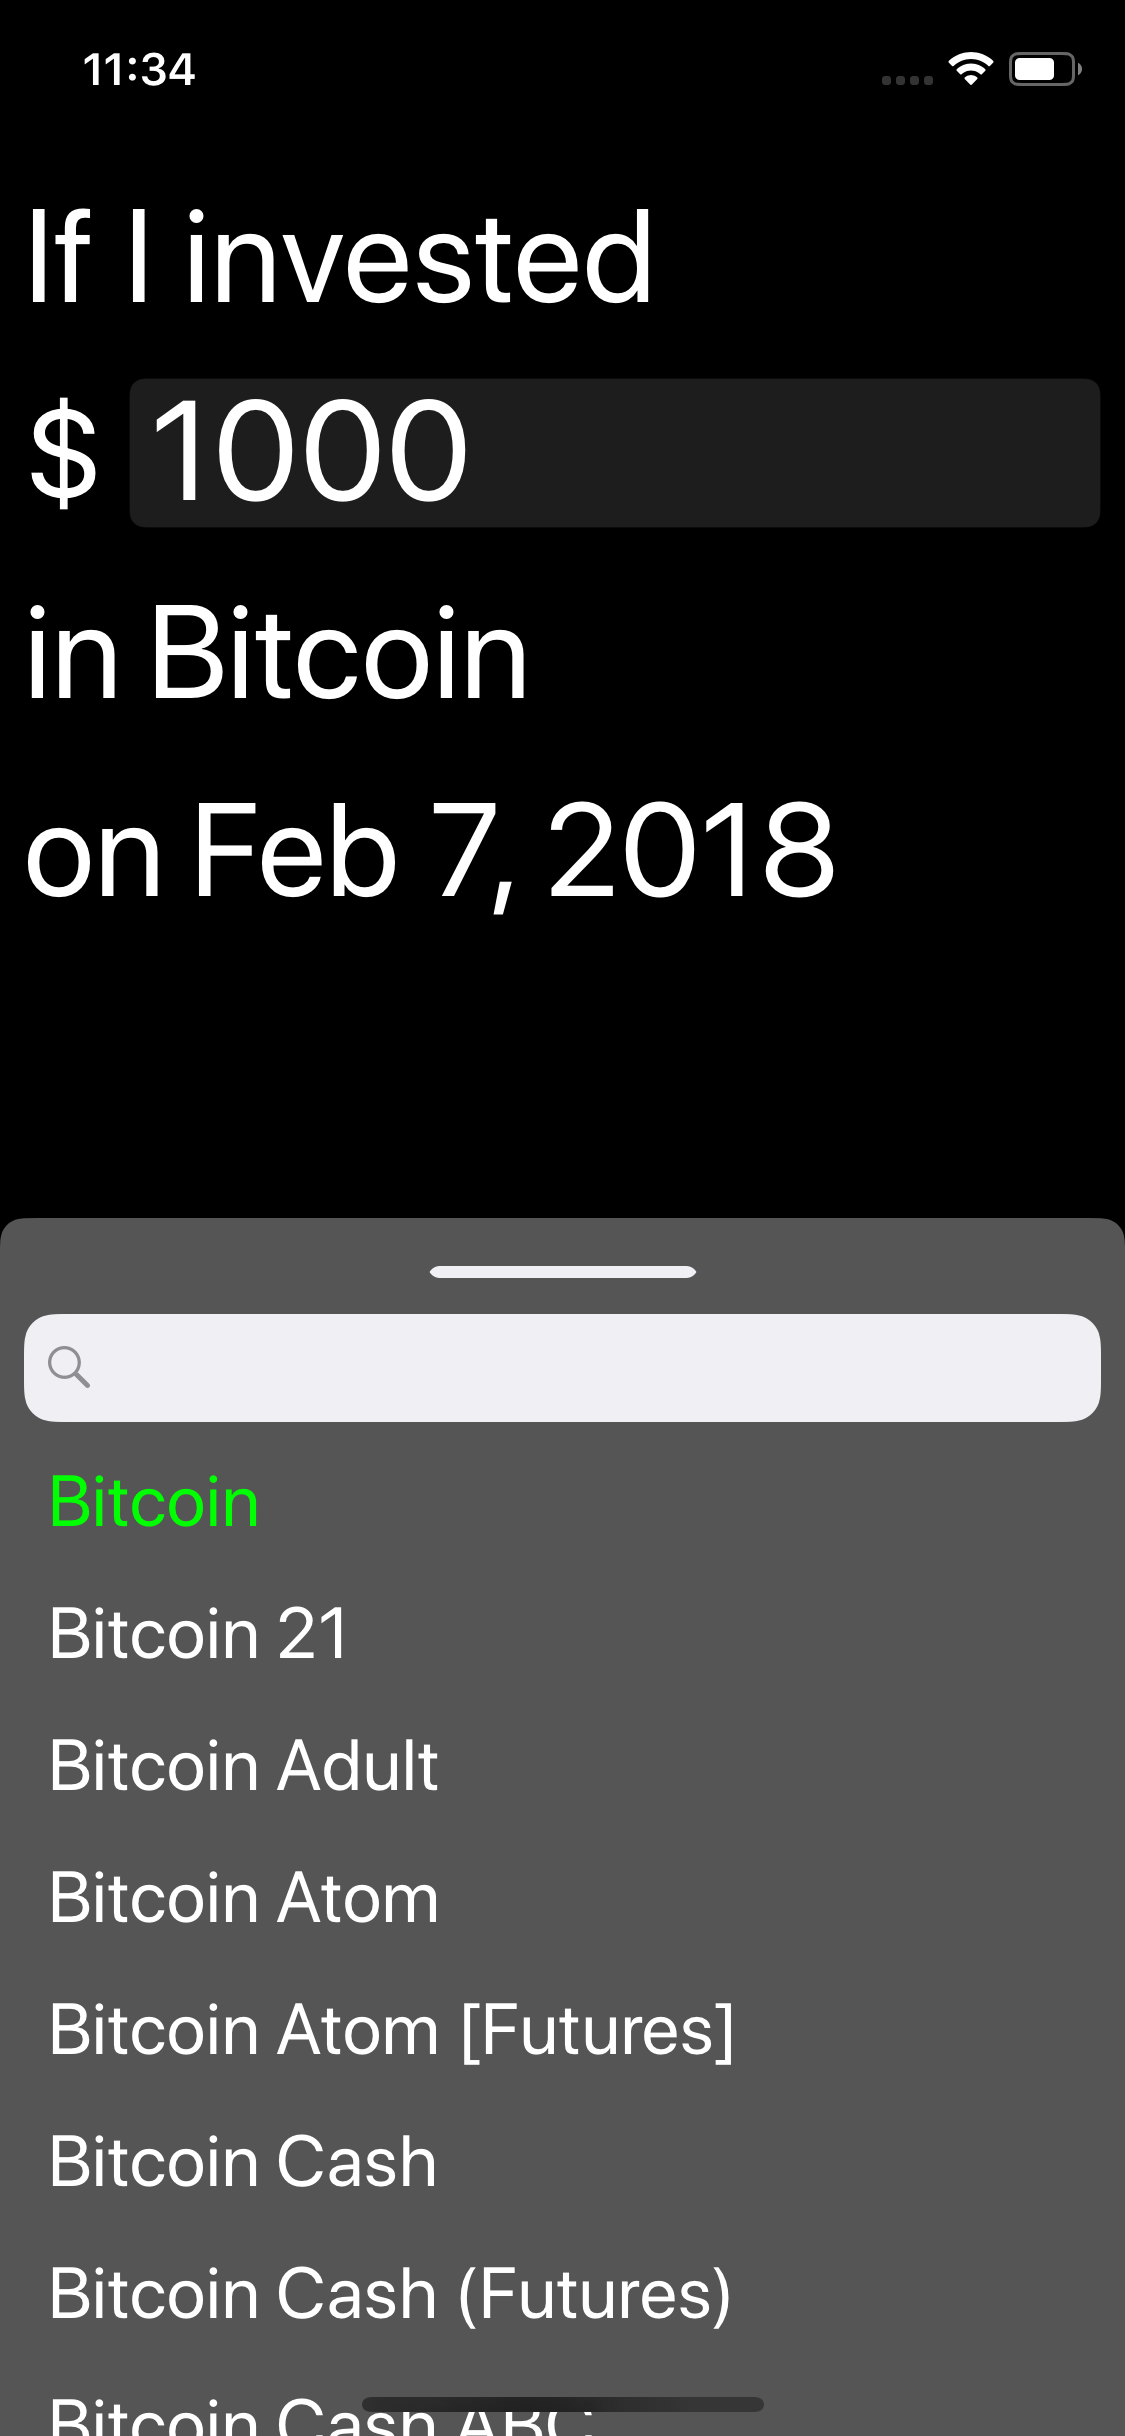)
It can be seen in the screenshot above 👆🏼, the selection from the coin list, is reflected on the backing view
Example
To run the example project, clone the repo, and run pod install from the Example directory first.
Requirements
- Xcode 10.0+
- iOS 10.0+
- Swift 4.2+
GIF
UI States
| Open | Mid way | Collapsed |
|---|---|---|
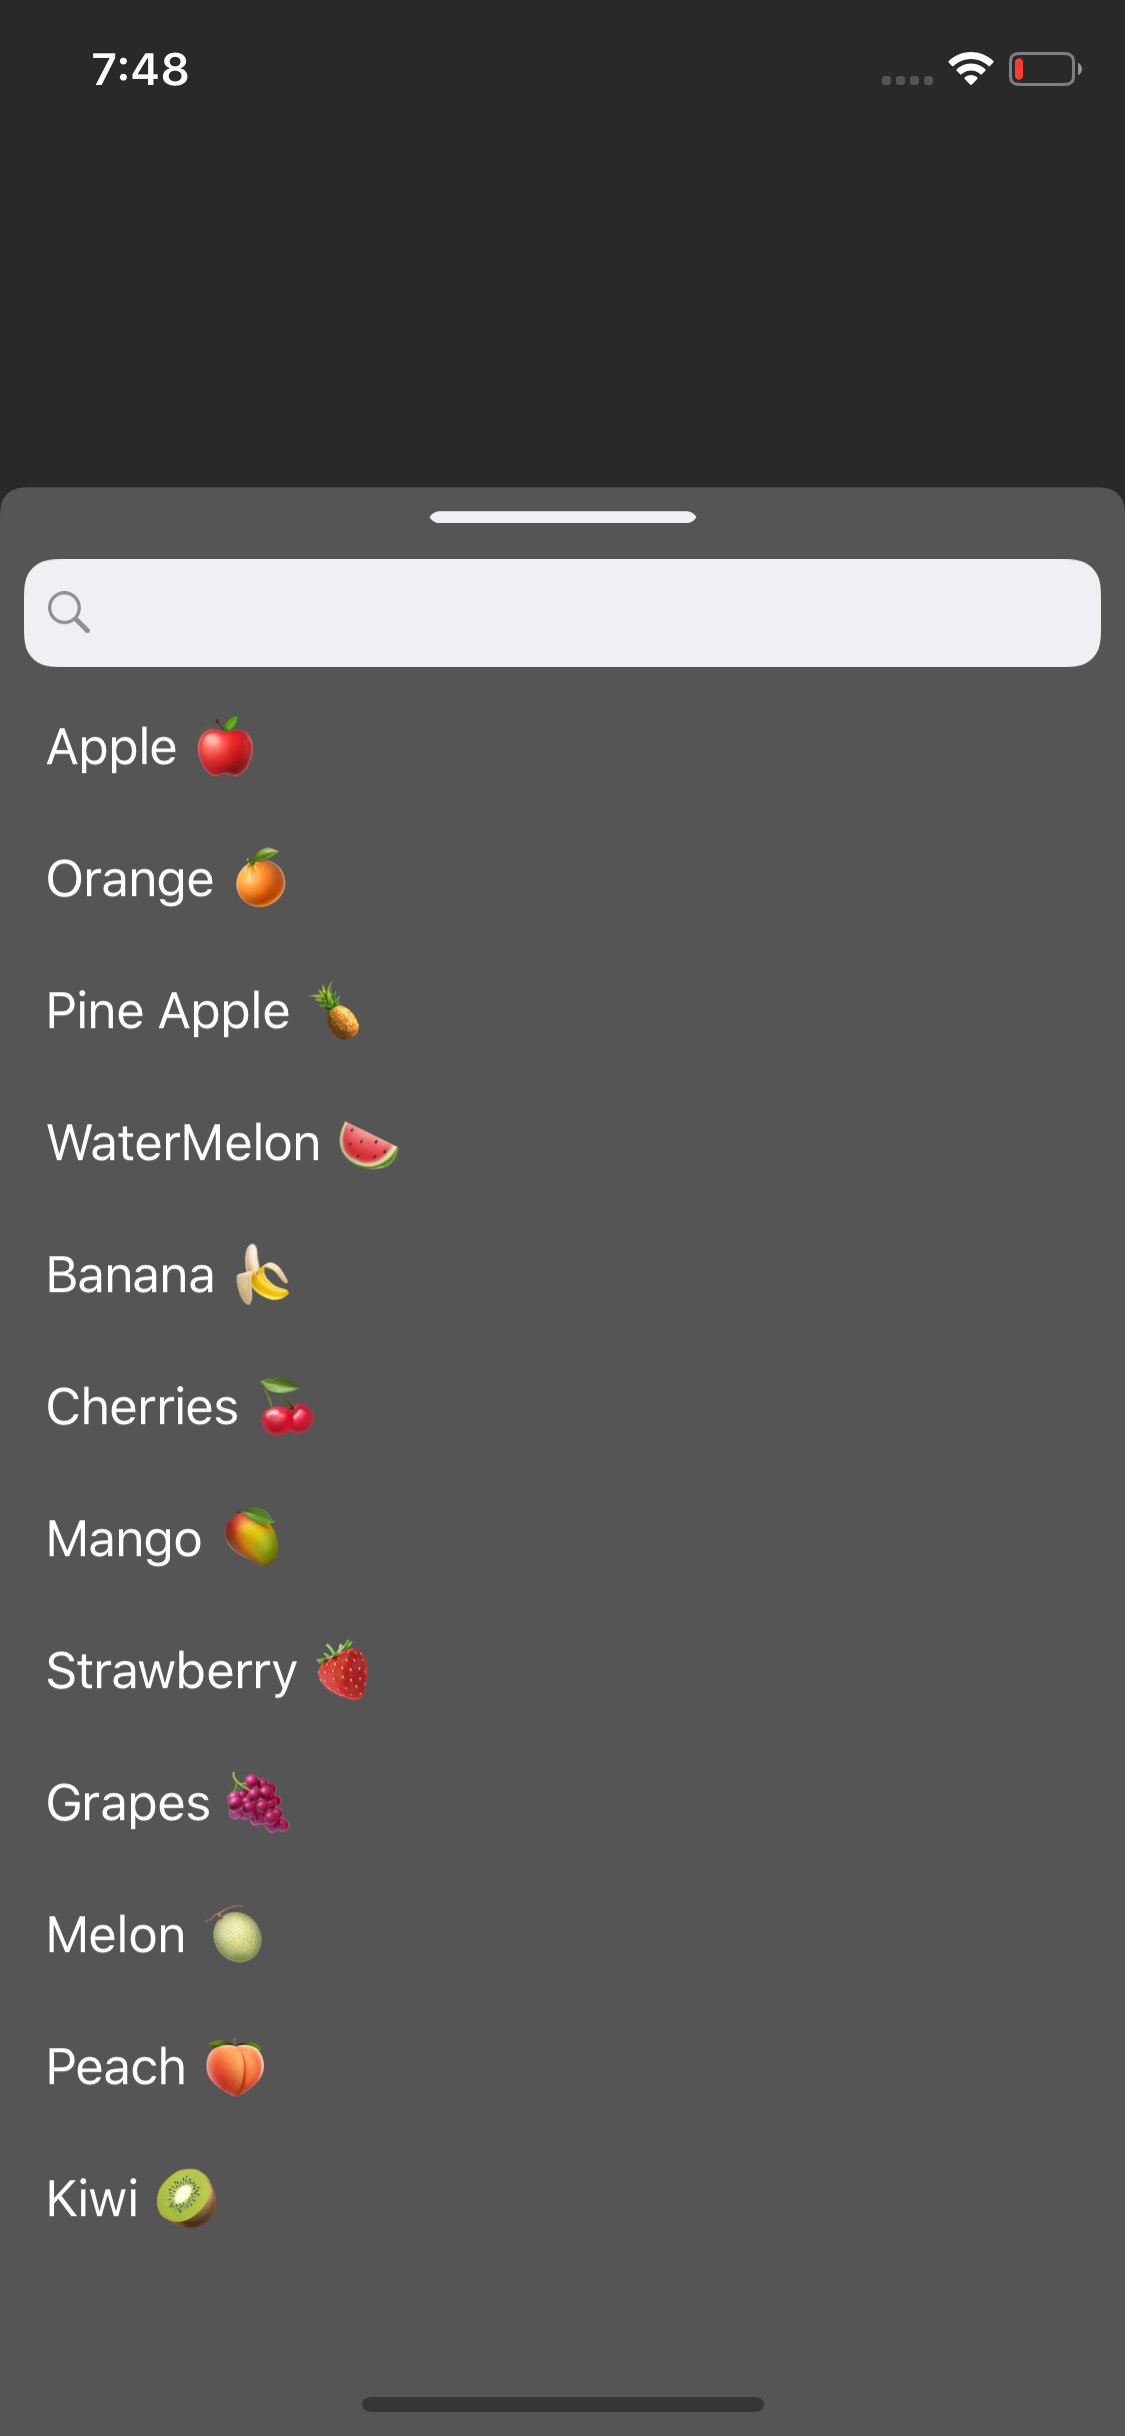 |
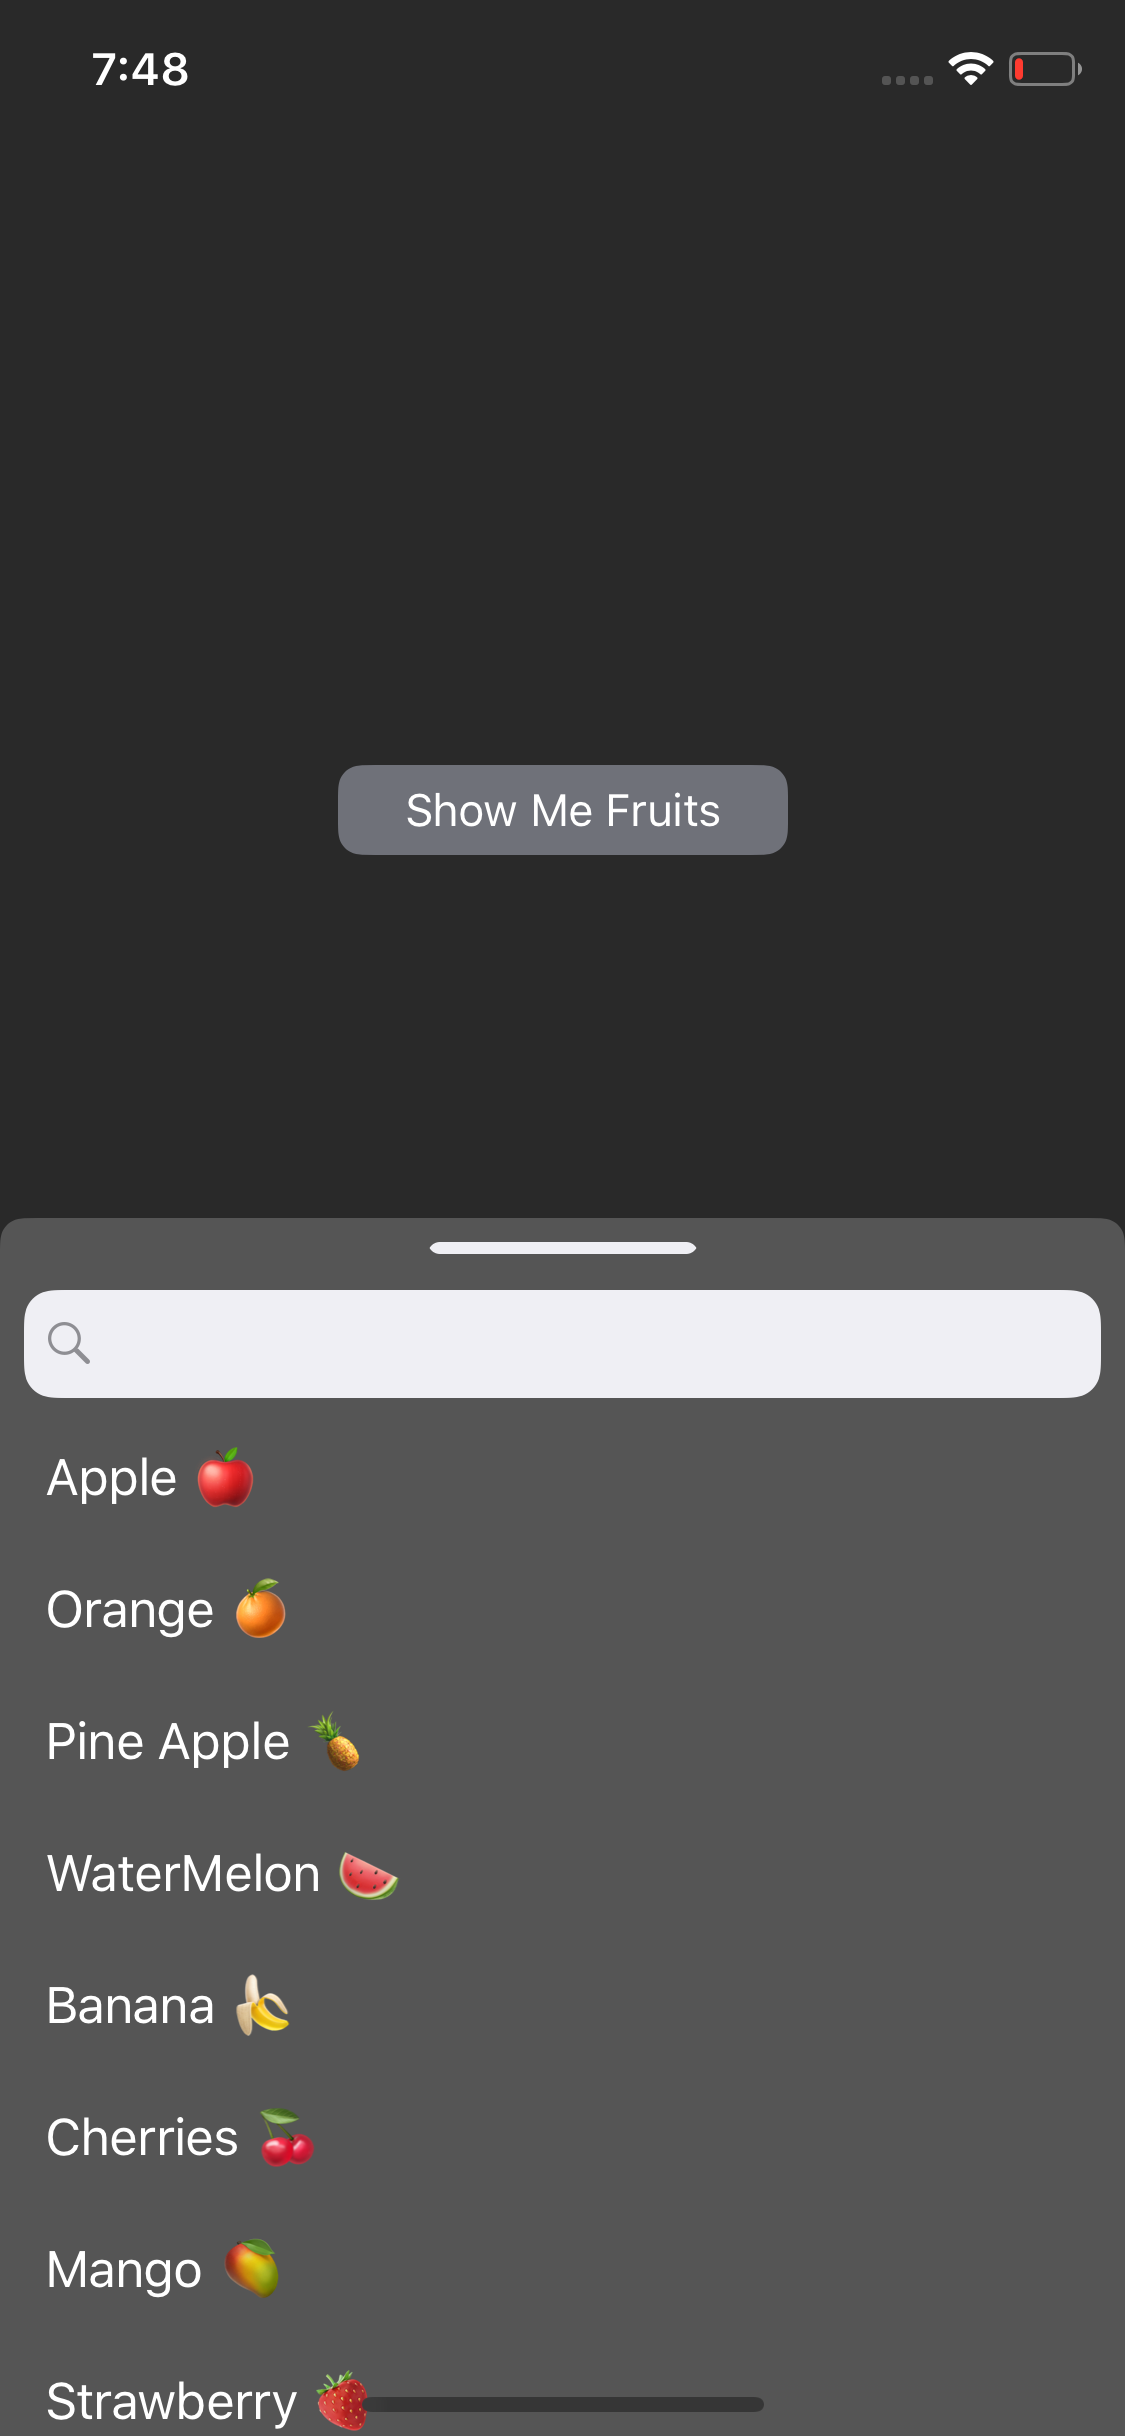 |
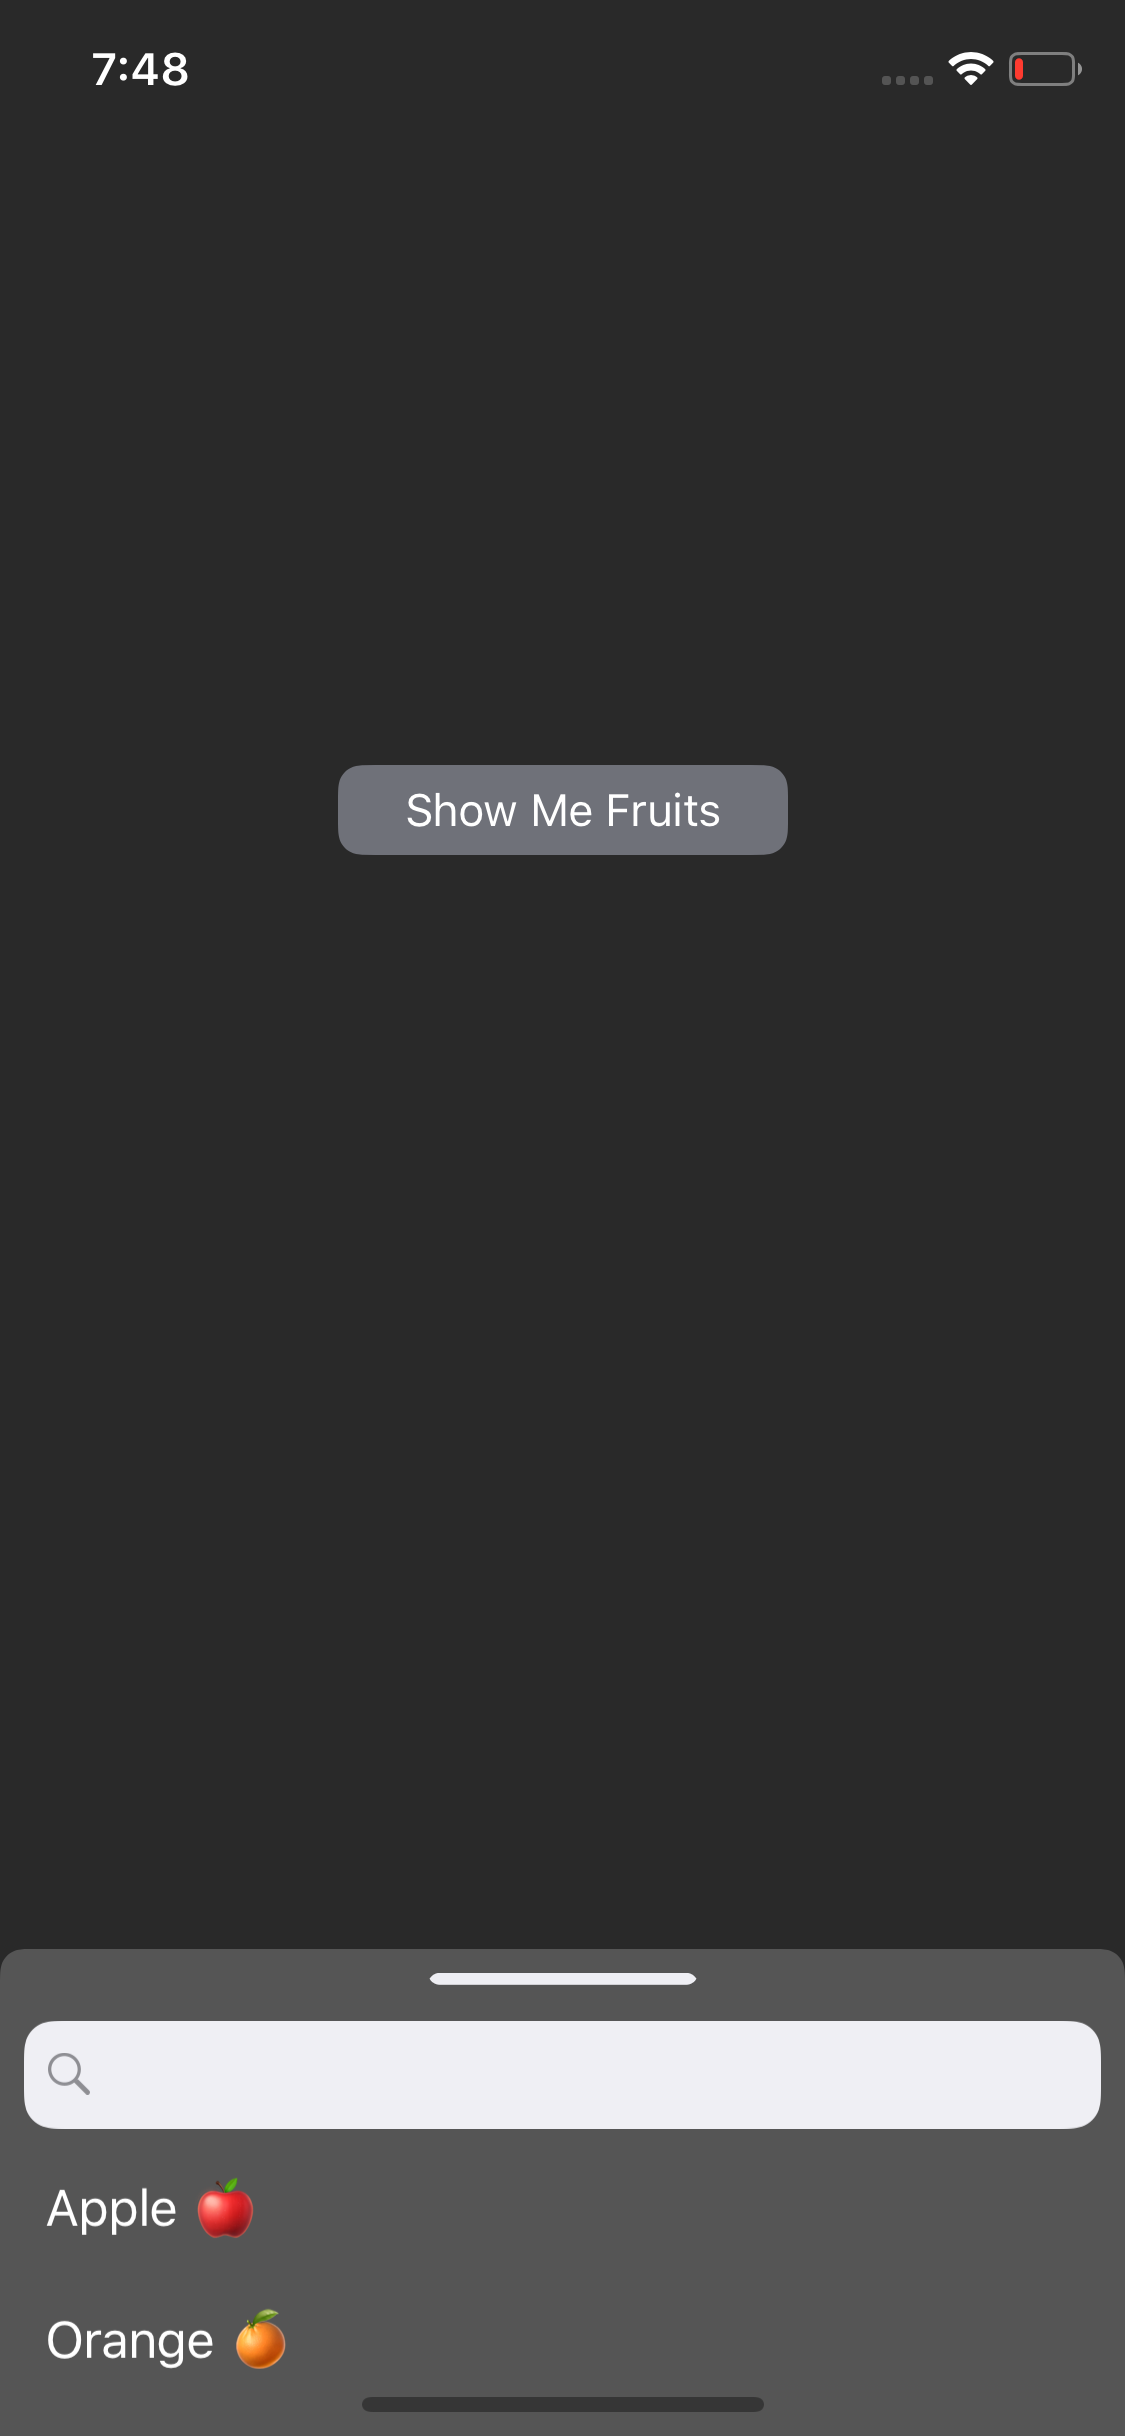 |
Setup
Start of by creating a Animator class
import UIKit
import Popper

class DraggableTransitionDelegate: NSObject, UIViewControllerTransitioningDelegate {
    func presentationController(forPresented presented: UIViewController, presenting: UIViewController?, source: UIViewController) -> UIPresentationController? {
        return DraggablePresentationController(presentedViewController: presented, presenting: source)
    }
}
Now we will use the Animator class as a transitionDelegate for the presented view controller
example:
        let fruitsViewController = DraggableViewController()
        animator = DraggableTransitionDelegate()
        fruitsViewController.transitioningDelegate = animator
        fruitsViewController.modalPresentationStyle = .custom
        present(fruitsViewController, animated: true, completion: .none)
Now you are all set.
Installation
Popper is available through CocoaPods. To install it, simply add the following line to your Podfile:
pod 'Popper'Author
mitulmanish, [email protected]
License
Popper is available under the MIT license. See the LICENSE file for more info.