NanoFrame
Getting back to basics with minimal frame-based layout and UIKit utils. (aka auto-layout without using auto-layout).
Why?
"Everything should be made as simple as possible, but no simpler". This quote, attributed to Albert Einstein doesn't just apply to solving the deepest mysteries in science. We can use it as a guide-post in software development too. In fact "simplicity" among "communication", "feedback", "courage" and "respect" is one of the five core values of Extreme Programming.
Why not Autolayout?
We can use it, however it pays to understand the basics first!
Before there was auto-layout, there were simpler days, with frame-based layout. Autolayout came along to address the issue of laying out views relative to one another, according to various screen sizes. However it is possible (and pretty easy) to lay out views relative to one another, using frame based layouts. We need to understand two fundamental principles;
- A
UIView's bounds is theCGRectframe, in its own coordinate space. The originCGPoint(0,0) is in the top left corner. - A
UIView's frame is the CGRect relative to its superview. We can place aUIViewat some coordinates (100, 50) in some other UIView's frame.
Note the word relative above. We can now lay out views relative to one another using frame and bounds. But just working at a CGRect level of abstraction becomes verbose and requires a lot of tedious arithmetic. Computers love tedious arithmetic, so let's add some extension functions to UIView for commmon operations. Now we can lay out views as follows:
override func layoutSubviews() {
    super.layoutSubviews()

    contentView.frame = bounds
    glowView.frame = contentView.bounds.insetBy(dx: 10, dy: 6)

    let backgroundColors = [UIColor(hex: 0x424243), UIColor(hex: 0x212121)]
    glowView.backgroundColor = UIColor(topToBottom: backgroundColors, inFrame: glowView.frame)
    glowView.layer.shadowPath = UIBezierPath(rect: glowView.bounds).cgPath

    titleLabel.width = glowView.width - 30
    titleLabel.centerVerticallyInSuperView()
    titleLabel.x = glowView.x + 10

    starButton.centerVerticallyInSuperView()
    starButton.right = glowView.right - 20
}
In the example above we're laying out the titleLabel and starButton relative to the superview, just as we do with auto-layout. In fact if we renamed the x and right computed properties to leading and trailing it would look even more like auto-layout.
The difference is that we must do this in the layoutSubviews() function (with autolayout we can declare constraints anywhere) however we might consider this a feature. Now we know where to look for layout related code.
Composition
There is a reason we come across the word 'compositing' a lot when it comes to graphics. This pattern works well for rendering - start with a root node, and branch out. It can be paralleled. So rather than a complex ancestral heirarchy (DogView extends AnimalView .... extends UIView) we compose complex views from simple pieces.
The approach above works well for composition of views. If you see a long layoutSubviews() function, there's some evidence that extracting a reusable subview will promote reusablility. Now you can layout this child view relative to the parent. And it becomes simple to reaon about.
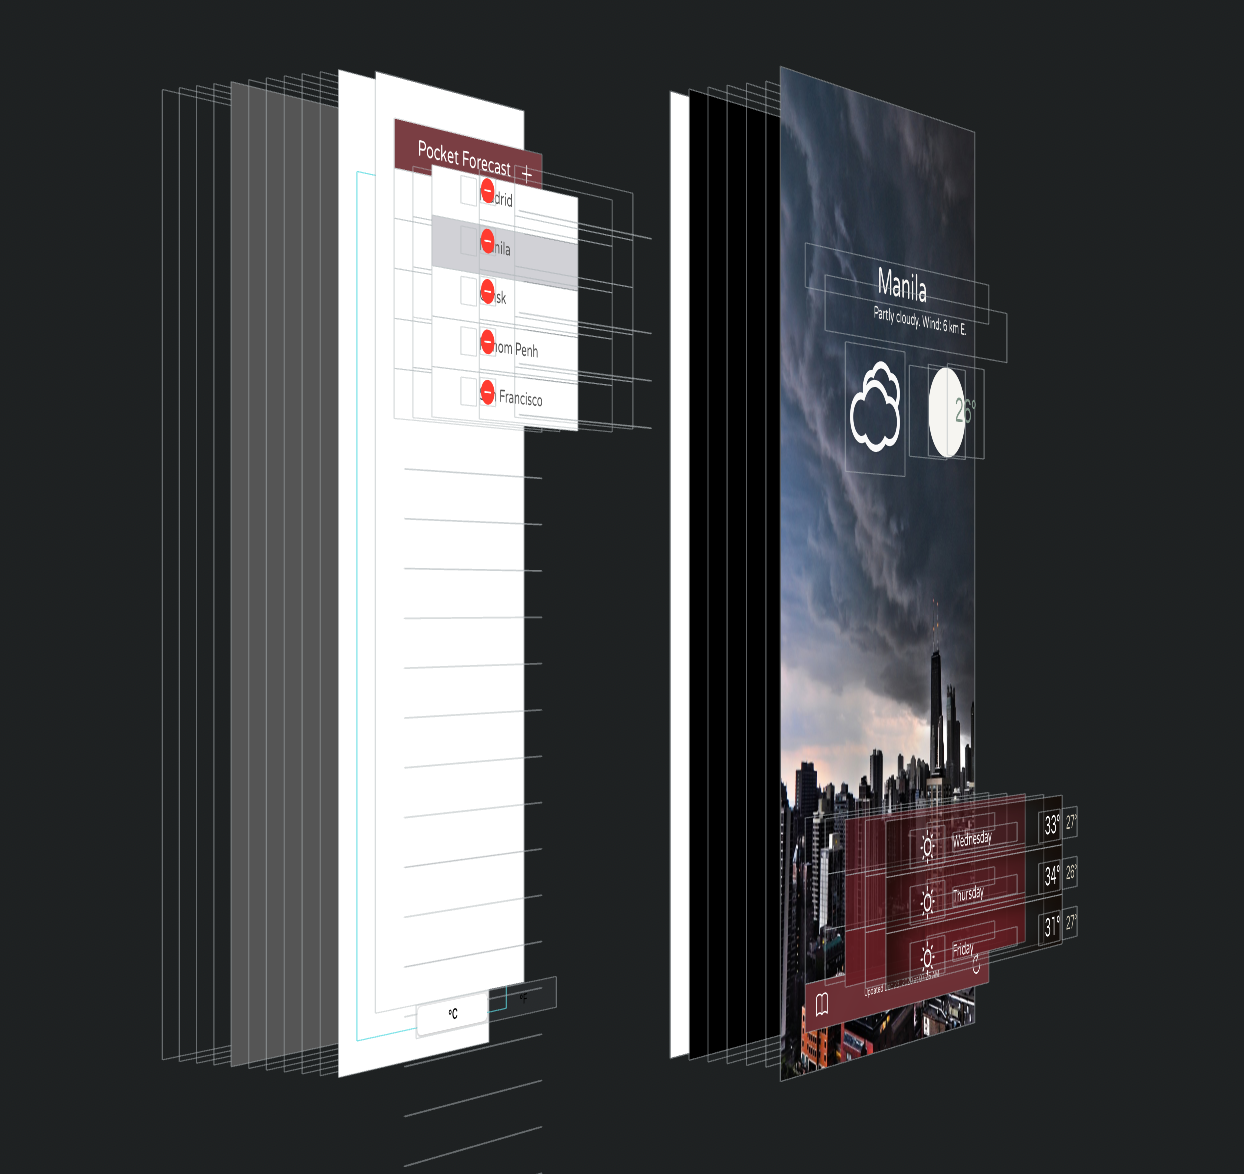
Your top-level view's model can deal at the application domain's model, so if for example you have a top-level weather report view, you can feed that view a weather report model.
Animation
Now that we know how to layout views relative ot one another with composition, we can animate them too.
CATransaction.flush()
UIView.animate(withDuration: 0.28, delay: 0, options: [.curveEaseIn], animations: { [self] in
  titleLabel.x = starButton.x - 30
})
We use a built-in animation curve above. However we could easily apply functions from Newtonian physics to approximate gravity, friction and so forth.