Mapbox-macOS-SDK-symbols 0.16.0-symbols
| License | BSD |
| ReleasedLast Release | May 2020 |
Maintained by Minh Nguyễn.
Mapbox-macOS-SDK-symbols 0.16.0-symbols
- By
- Mapbox
- mapbox
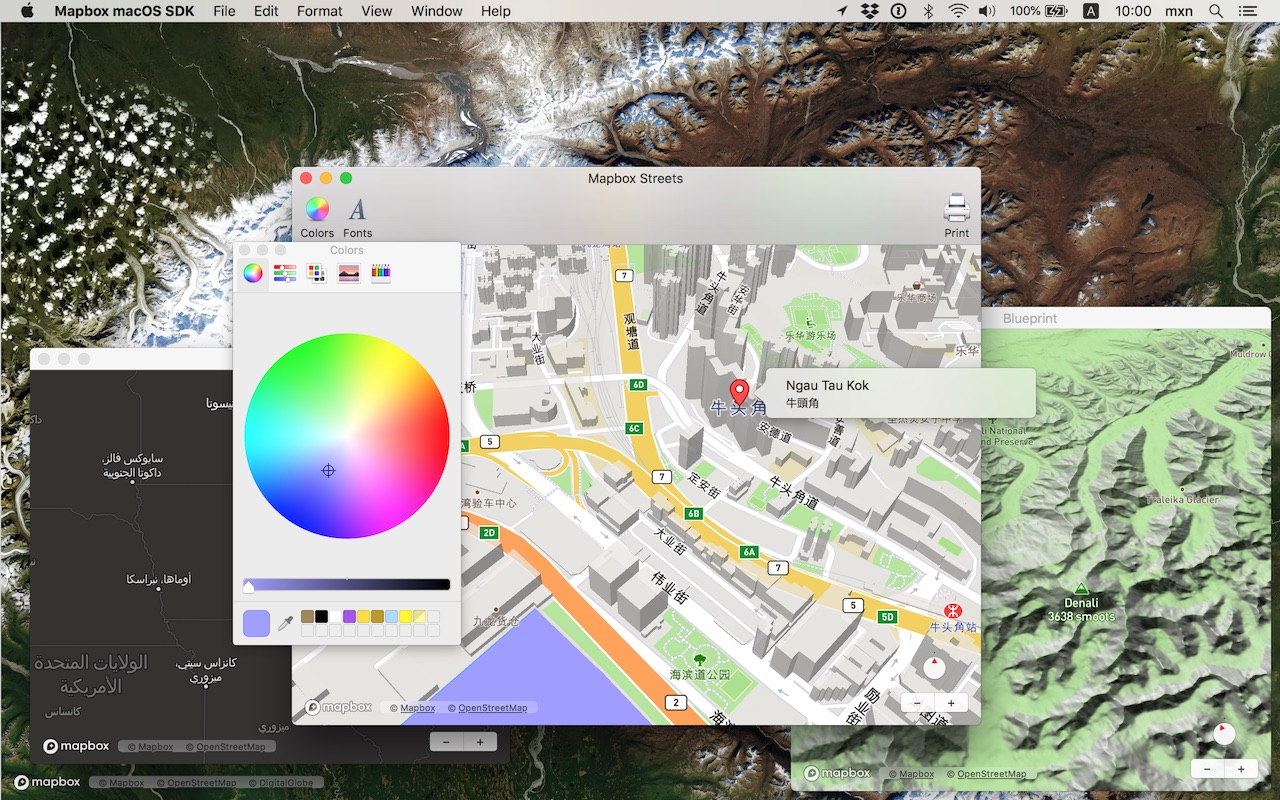
Mapbox macOS SDK
Put interactive, scalable world maps into your native Cocoa application with the open-source Mapbox macOS SDK.
- Mapbox-curated map styles and OpenStreetMap-based vector tiles make it easy to get started.
- Customize every aspect of the map’s appearance in code or visually using Mapbox Studio.
- High-performance OpenGL rendering and multitouch gestures keep your users happy.
- A well-designed, fully documented API helps you stay productive.
- Develop across multiple platforms, including iOS, using the same styles and similar APIs.

The Mapbox macOS SDK is compatible with macOS 10.10.0 and above for Cocoa applications developed in Objective-C, Swift, Interface Builder, or AppleScript. For hybrid applications, consider Mapbox GL JS.
Installation
There are three ways to install the Mapbox macOS SDK:
Manually
-
Download the latest Mapbox macOS SDK release from GitHub – look for a release that begins with “macos-”.
-
Open the project editor, select your application target, then go to the General tab. Drag Mapbox.framework into the “Embedded Binaries” section. (Don’t drag it into the “Linked Frameworks and Libraries” section; Xcode will add it there automatically.) In the sheet that appears, make sure “Copy items if needed” is checked, then click Finish.
Via Carthage
The Mapbox macOS SDK is a binary-only dependency, so you’ll need Carthage 0.19 or above. In your Cartfile, specify this dependency (plus an optional version requirement):
binary "https://mapbox.github.io/mapbox-gl-native/macos/Mapbox-macOS-SDK.json"
After running carthage update, you’ll find Mapbox.framework in the Carthage/Build/ folder. Follow these instructions to integrate it into your project.
Via CocoaPods
Create a Podfile with the following specification:
platform :osx, '10.10'

target 'TargetNameForYourApp' do
  pod 'Mapbox-iOS-SDK', '~> x.y'
end
where x.y is the current version. In Terminal, run pod install.
Usage
Mapbox vector tiles require a Mapbox account and API access token. In the project editor, select the application target, then go to the Info tab. Under the “Custom macOS Application Target Properties” section, set MGLMapboxAccessToken to your access token. You can obtain an access token from the Mapbox account page.
Then, in a storyboard or XIB:
- Add a view to your view controller or window. (Drag Custom View from the Object library to the View Controller scene on the Interface Builder canvas. In a XIB, drag it instead to the window on the canvas.)
- In the Identity inspector, set the view’s custom class to
MGLMapView. - MGLMapView needs to be layer-backed:
- You can make the window layer-backed by selecting the window and checking Full Size Content View in the Attributes inspector. This allows the map view to underlap the title bar and toolbar.
- Alternatively, if you don’t want the entire window to be layer-backed, you can make just the map view layer-backed by selecting it and checking its entry under the View Effects inspector’s Core Animation Layer section.
- Add a map feedback item to your Help menu. (Drag Menu Item from the Object library into Main Menu ‣ Help ‣ Menu.) Title it “Improve This Map” or similar, and connect it to the
giveFeedback:action of First Responder.
If you need to manipulate the map view programmatically:
- Switch to the Assistant Editor.
- Import the
Mapboxmodule. - Connect the map view to a new outlet in your view controller class. (Control-drag from the map view in Interface Builder to a valid location in your view controller implementation.) The resulting outlet declaration should look something like this:
// ViewController.m
@import Mapbox;

@interface ViewController : NSViewController

@property (strong) IBOutlet MGLMapView *mapView;

@end
// ViewController.swift
import Mapbox
class ViewController: NSViewController {
@IBOutlet var mapView: MGLMapView!
}-- AppDelegate.applescript
script AppDelegate
property parent : class "NSObject"
property theMapView : missing value
end scriptFull API documentation is included in this package, within the documentation folder, and online. The Mapbox iOS SDK’s API documentation and online examples apply to the Mapbox macOS SDK with few differences, mostly around unimplemented features like user location tracking.
Mapbox does not officially support the macOS SDK to the same extent as the iOS SDK; however, bug reports and pull requests are certainly welcome.