Euromsg


Example
To run the example project, clone the repo, and open Euromsg.xcworkspace file from the root directory.
Requirements
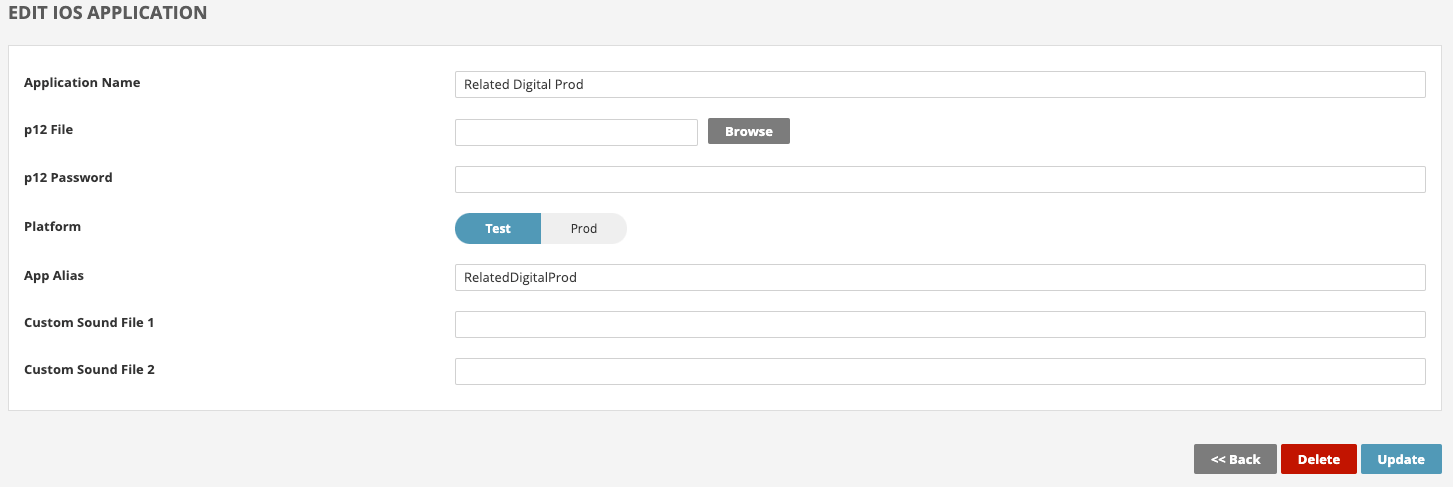
You only need App Alias, which you can get from RMC Panel.
Installation
Euromsg is available through CocoaPods. To install it, simply add the following line to your Podfile:
pod 'Euromsg'Add Application to RMC Panel
First, create your application from the RMC Panel. App Alias section should be unique to you. RMC makes the distinction based on this value.
Usage
Add a Notification Service Extension
NotificationServiceExtension allows your iOS application to receive rich notifications with images, buttons, and badges. It's also required for Euromessage's analytics features.
-
In Xcode File > New > Target...
-
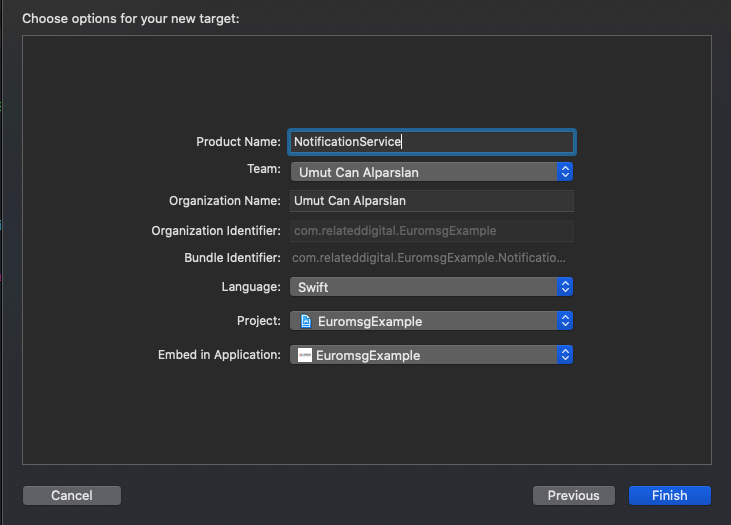
Select Notification Service Extension then press Next.
-
Enter the product name as NotificationService and press Finish.
-
Do not select Activate on the dialog that is shown after selecting Finish.
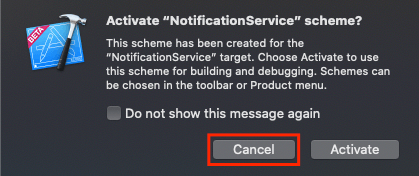
By canceling, you are keeping Xcode debugging your app, instead of the extension you just created.
If you activated by accident, you can switch back to debug your app within Xcode (next to the play button).
- In the project navigator, select the top-level project directory and select the NotificationService target in the project and targets list. Unless you have a specific reason not to, you should set the Deployment Target to be iOS 11.

- Open NotificationService.swift and replace the whole file's contents with the following code.
import UserNotifications
import Euromsg

class NotificationService: UNNotificationServiceExtension {

    var contentHandler: ((UNNotificationContent) -> Void)?
    var bestAttemptContent: UNMutableNotificationContent?

    override func didReceive(_ request: UNNotificationRequest, withContentHandler contentHandler: @escaping (UNNotificationContent) -> Void) {
        self.contentHandler = contentHandler
        bestAttemptContent = (request.content.mutableCopy() as? UNMutableNotificationContent)
        Euromsg.configure(appAlias: "YOUR_APP_ALIAS", enableLog: true)
        Euromsg.didReceive(bestAttemptContent, withContentHandler: contentHandler)
    }

    override func serviceExtensionTimeWillExpire() {
        guard let contentHandler = self.contentHandler else {
            return;
        }
        guard let bestAttemptContent = self.bestAttemptContent else {
            return;
        }
        contentHandler(bestAttemptContent)
    }

}
Ignore any build errors at this point, step 2 will import Euromessage which will resolve any errors.
If you have already added the Euromessage library to your project, simply add the NotificationServiceExtension section.
Add a Notification Content Extension
Note: If you are going to use carousel push sending, you need to add this.
-
In Xcode File > New > Target...
-
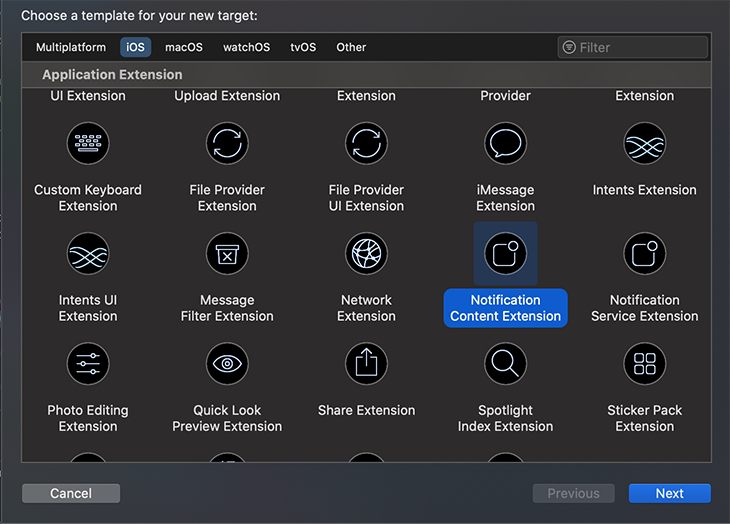
Select Notification Content Extension then press Next.
-
Enter the product name as NotificationContent and press Finish.
-
Do not select Activate on the dialog that is shown after selecting Finish.
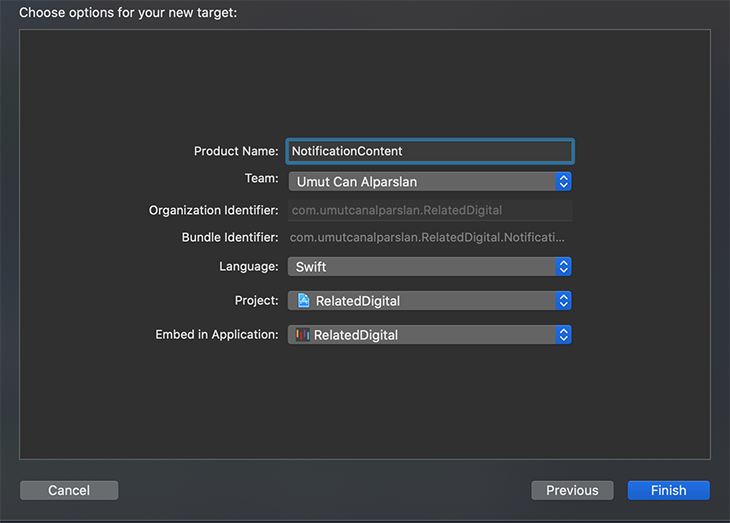
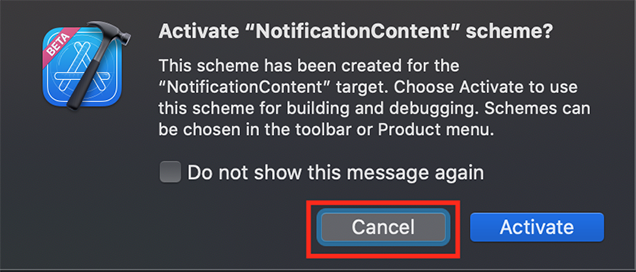
By canceling, you are keeping Xcode debugging your app, instead of the extension you just created.
If you activated by accident, you can switch back to debug your app within Xcode (next to the play button).
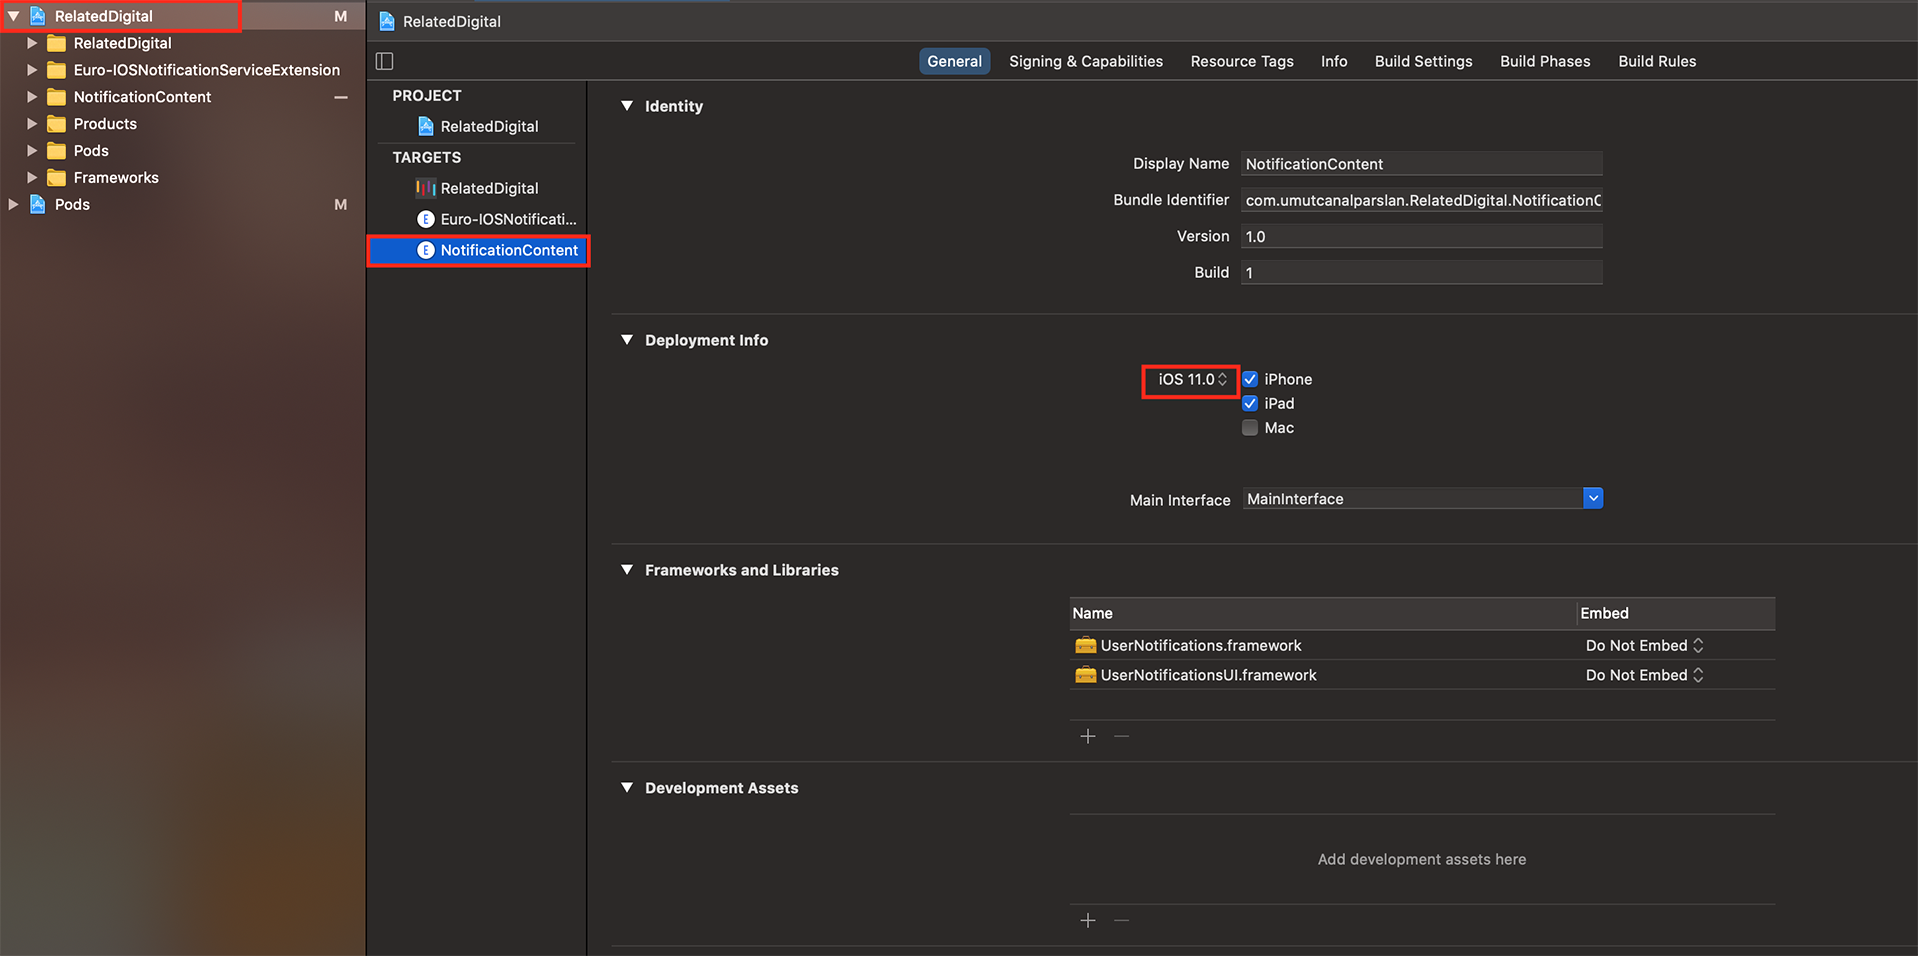
- In the project navigator, select the top-level project directory and select the NotificationContent target in the project and targets list. Unless you have a specific reason not to, you should set the Deployment Target to be iOS 11.
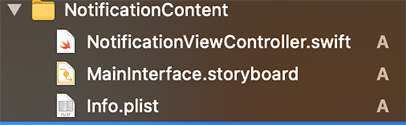
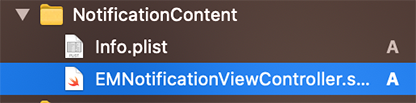
- Delete MainInterface.storyboard and NotificationContent.swift files. Then create a swift file named EMNotificationViewController under the NotificationContent folder.
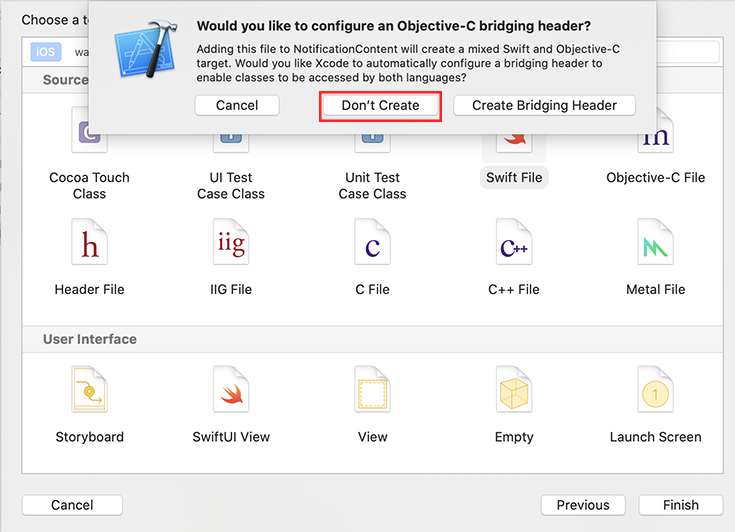
Don't Create Objective-C Bridging Header
- Open EMNotificationViewController.swift and replace the whole file's contents with the following code.
import UIKit
import UserNotifications
import UserNotificationsUI
import Euromsg

@objc(EMNotificationViewController)
class EMNotificationViewController: UIViewController, UNNotificationContentExtension {

    let carouselView = EMNotificationCarousel.initView()
    var completion: ((_ url: URL?, _ bestAttemptContent: UNMutableNotificationContent?) -> Void)?

    var notificationRequestIdentifier = ""

    func didReceive(_ notification: UNNotification) {
        notificationRequestIdentifier = notification.request.identifier
        Euromsg.configure(appAlias: "EuromsgIOSTest", launchOptions: nil, enableLog: true)
        carouselView.didReceive(notification)
    }
    func didReceive(_ response: UNNotificationResponse, completionHandler completion: @escaping (UNNotificationContentExtensionResponseOption) -> Void) {
        carouselView.didReceive(response, completionHandler: completion)

    }
    override func loadView() {
        completion = { [weak self] url, bestAttemptContent in
            if let identifier = self?.notificationRequestIdentifier {
                UNUserNotificationCenter.current().removeDeliveredNotifications(withIdentifiers: [identifier])
                UNUserNotificationCenter.current().getDeliveredNotifications(completionHandler: { notifications in
                    bestAttemptContent?.badge =  NSNumber(value: notifications.count)
                })
            }
            if let url = url {
                if #available(iOSApplicationExtension 12.0, *) {
                    self?.extensionContext?.dismissNotificationContentExtension()
                }
                self?.extensionContext?.open(url)
            } else {
                if #available(iOSApplicationExtension 12.0, *) {
                    self?.extensionContext?.performNotificationDefaultAction()
                }
            }
        }
        carouselView.completion = completion
        carouselView.delegate = self
        self.view = carouselView
    }
}

/**
 Add if you want to track which carousel element has been selected
 */
extension EMNotificationViewController: CarouselDelegate {

    func selectedItem(_ element: EMMessage.Element) {
        // Add your work...
        print("Selected element is => \(element)")
    }

}
Update the podfile for NotificationContent and NotificationService as below and type pod install in the terminal again and press enter.
target 'project_name' do
  #only add below line
  pod 'Euromsg'
end

target 'NotificationService' do
  #only add below line
  pod 'Euromsg'
end

target 'NotificationContent' do
  #only add below line
  pod 'Euromsg'
end
App Groups
Enable App Groups Capability for your targets. App Groups allow your app to execute code when a notification is recieved, even if your app is not active. This is required for Related Digital's analytics features and to store and access notification payloads of the last 30 days.
- In your Main App Target go to
Signing & Capabilities > All. - Click
+ Capabilityif you do not have App Groups in your app yet. - Select App Groups.
- Under App Groups click the
+button. - Set the
App Groupscontainer to begroup.BUNDLE_ID.relateddigitalwhereBUNDLE_IDis the same as set inBundle Identifier. - Press OK.
- In the NotificationServiceExtension Target
- Go to
Signing & Capabilities > All - Click
+ Capabilityif you do not have App Groups in your app yet. - Select App Groups
- In the NotificationContentExtension Target go to
Signing & Capabilities> All`. - Click
+ Capability. - Select App Groups
- Under App Groups click the
+button. - Set the
App Groupscontainer to begroup.BUNDLE_ID.relateddigitalwhereBUNDLE_IDis the same as your Main App TargetBundle Identifier. Do Not IncludeNotificationServiceExtensionandNotificationContentExtension. - Press OK


AppDelegate.swift
Firstly import Euromsg and UserNotifications
import Euromsg
import UserNotifications
Add UNUserNotificationCenterDelegate to the class AppDelegate section.
class AppDelegate: UIResponder, UIApplicationDelegate, UNUserNotificationCenterDelegate
Add desired code under didFinishLaunchingWithOptions.
Provisional Push
To get permissions with provisional add this code under didFinishLaunchingWithOptions. Only iOS 12 or newer versions are compatible with provisional push. People whom using lower versions, askForNotificationPermissionProvisional function work as askForNotificationPermission.
func application(_ application: UIApplication, didFinishLaunchingWithOptions launchOptions: [UIApplication.LaunchOptionsKey: Any]?) -> Bool {

        UNUserNotificationCenter.current().delegate = self

        Euromsg.configure(appAlias: "YOUR_APP_ALIAS", launchOptions: launchOptions, enableLog: true, appGroupsKey: "group.YOUR_BUNDLE_ID.relateddigital", deliveredBadge: false)
        Euromsg.registerForPushNotifications()
        Euromsg.askForNotificationPermissionProvisional()
        if #available(iOS 13, *) {
            // handle push for iOS 13 and later in sceneDelegate
        }
        else if let userInfo = launchOptions?[UIApplication.LaunchOptionsKey.remoteNotification] as? [String: Any] {
            Euromsg.handlePush(pushDictionary: userInfo)
        }
        return true
    }
If you do not want to provisional push, add below code under didFinishLaunchingWithOptions.
func application(_ application: UIApplication, didFinishLaunchingWithOptions launchOptions: [UIApplication.LaunchOptionsKey: Any]?) -> Bool {

        UNUserNotificationCenter.current().delegate = self

        Euromsg.configure(appAlias: "YOUR_APP_ALIAS", launchOptions: launchOptions, enableLog: true, appGroupsKey: "group.YOUR_BUNDLE_ID.relateddigital", deliveredBadge: false)
        Euromsg.registerForPushNotifications()
        Euromsg.askForNotificationPermission()
        if #available(iOS 13, *) {
            // handle push for iOS 13 and later in sceneDelegate
        }
        else if let userInfo = launchOptions?[UIApplication.LaunchOptionsKey.remoteNotification] as? [String: Any] {
            Euromsg.handlePush(pushDictionary: userInfo)
        }
        return true
    }
User has to accept to receive push messages. If the user accepts and the device is successfully registered to the APNS, the following method is called in AppDelegate
func application(_ application: UIApplication, didRegisterForRemoteNotificationsWithDeviceToken deviceToken: Data) {
        Euromsg.registerToken(tokenData: deviceToken)
    }
In order for push reports to be reflected on RMC, you need to add the following functions.
 func application(_ application: UIApplication,
                     didReceiveRemoteNotification userInfo: [AnyHashable : Any]) {
        Euromsg.handlePush(pushDictionary: userInfo)
    }

    func application(_ application: UIApplication,
                     didReceiveRemoteNotification userInfo: [AnyHashable : Any],
                     fetchCompletionHandler completionHandler: @escaping (UIBackgroundFetchResult) -> Void) {
        Euromsg.handlePush(pushDictionary: userInfo)
    }

    func userNotificationCenter(_ center: UNUserNotificationCenter,
                                willPresent notification: UNNotification,
                                withCompletionHandler completionHandler: @escaping (UNNotificationPresentationOptions) -> Void) {
        completionHandler([.alert, .badge, .sound])
    }

    func userNotificationCenter(_ center: UNUserNotificationCenter,
                                didReceive response: UNNotificationResponse,
                                withCompletionHandler completionHandler: @escaping () -> Void) {
        Euromsg.handlePush(pushDictionary: response.notification.request.content.userInfo)
        completionHandler()
    }
SceneDelegate.swift
func scene(_ scene: UIScene, willConnectTo session: UISceneSession, options connectionOptions: UIScene.ConnectionOptions) {
        // Use this method to optionally configure and attach the UIWindow `window` to the provided UIWindowScene `scene`.
        // If using a storyboard, the `window` property will automatically be initialized and attached to the scene.
        // This delegate does not imply the connecting scene or session are new (see `application:configurationForConnectingSceneSession` instead).
        guard let _ = (scene as? UIWindowScene) else { return }

        if #available(iOS 13, *),
            let userInfo = connectionOptions.notificationResponse?.notification.request.content.userInfo {
            Euromsg.handlePush(pushDictionary: userInfo)
        }
    }
Send Information to RMC
Run the code below when the user successfully logs in, registers and the first time the application is opened.
P.S. : Depending on the reference of your account, one of the setEuroUserId or setEmail functions is required.
Euromsg.setEmail(email: "[email protected]", permission: true)
Euromsg.setEuroUserId(userKey: "1234567890")
Euromsg.sync()
Optional Parameters
setUserProperty: User to fill demographic fields
setAppVersion: You can segment according to the version your users use.
checkConfiguration: You can check the permission status of users
setPushNotification, setEmail, setPhoneNumber: You can set the permission status of users.
Euromsg.setUserProperty(key: "Key", value: "Value")
Euromsg.setAppVersion(appVersion: "1.0.0")
let conf = Euromsg.checkConfiguration()
conf.properties?.pushPermit
conf.properties?.emailPermit
conf.properties?.gsmPermit
Euromsg.setPushNotification(permission: true)
Euromsg.setEmail(permission: true)
Euromsg.setPhoneNumber(permission: true)
IYS Email Register
To register email IYS;
Euromsg.registerEmail(email: "[email protected]", permission: true)
//You can also call TICARI account as following
Euromsg.registerEmail(email: "[email protected], permission: True, isCommercial: true)
To update user's consent call this method. If request will fail for any reason you can handle at didFailRegister
Author
[email protected], [email protected], [email protected], [email protected]
License
Euromsg is available under the MIT license. See the LICENSE file for more info.