BMASliders 1.0.0
| TestsTested | ✗ |
| LangLanguage | Obj-CObjective C |
| License | MIT |
| ReleasedLast Release | Mar 2015 |
Maintained by Rafael Lopez Diez.
BMASliders 1.0.0
- By
- Diego Sanchez
BMASliders is a set of reusable sliders. It includes two kind of sliders, one with customizable ranges -BMARangeSlider- and a simpler one -BMASlider- along with its labeled counterparts -BMALabeledRangeSlider and BMALabeledSlider
Features
- Live rendering in Interface Builder
- Configurable minimum distance between handlers
- Ability to allow only discretized values
- Overflow signal
- Configurable appearance
How to use
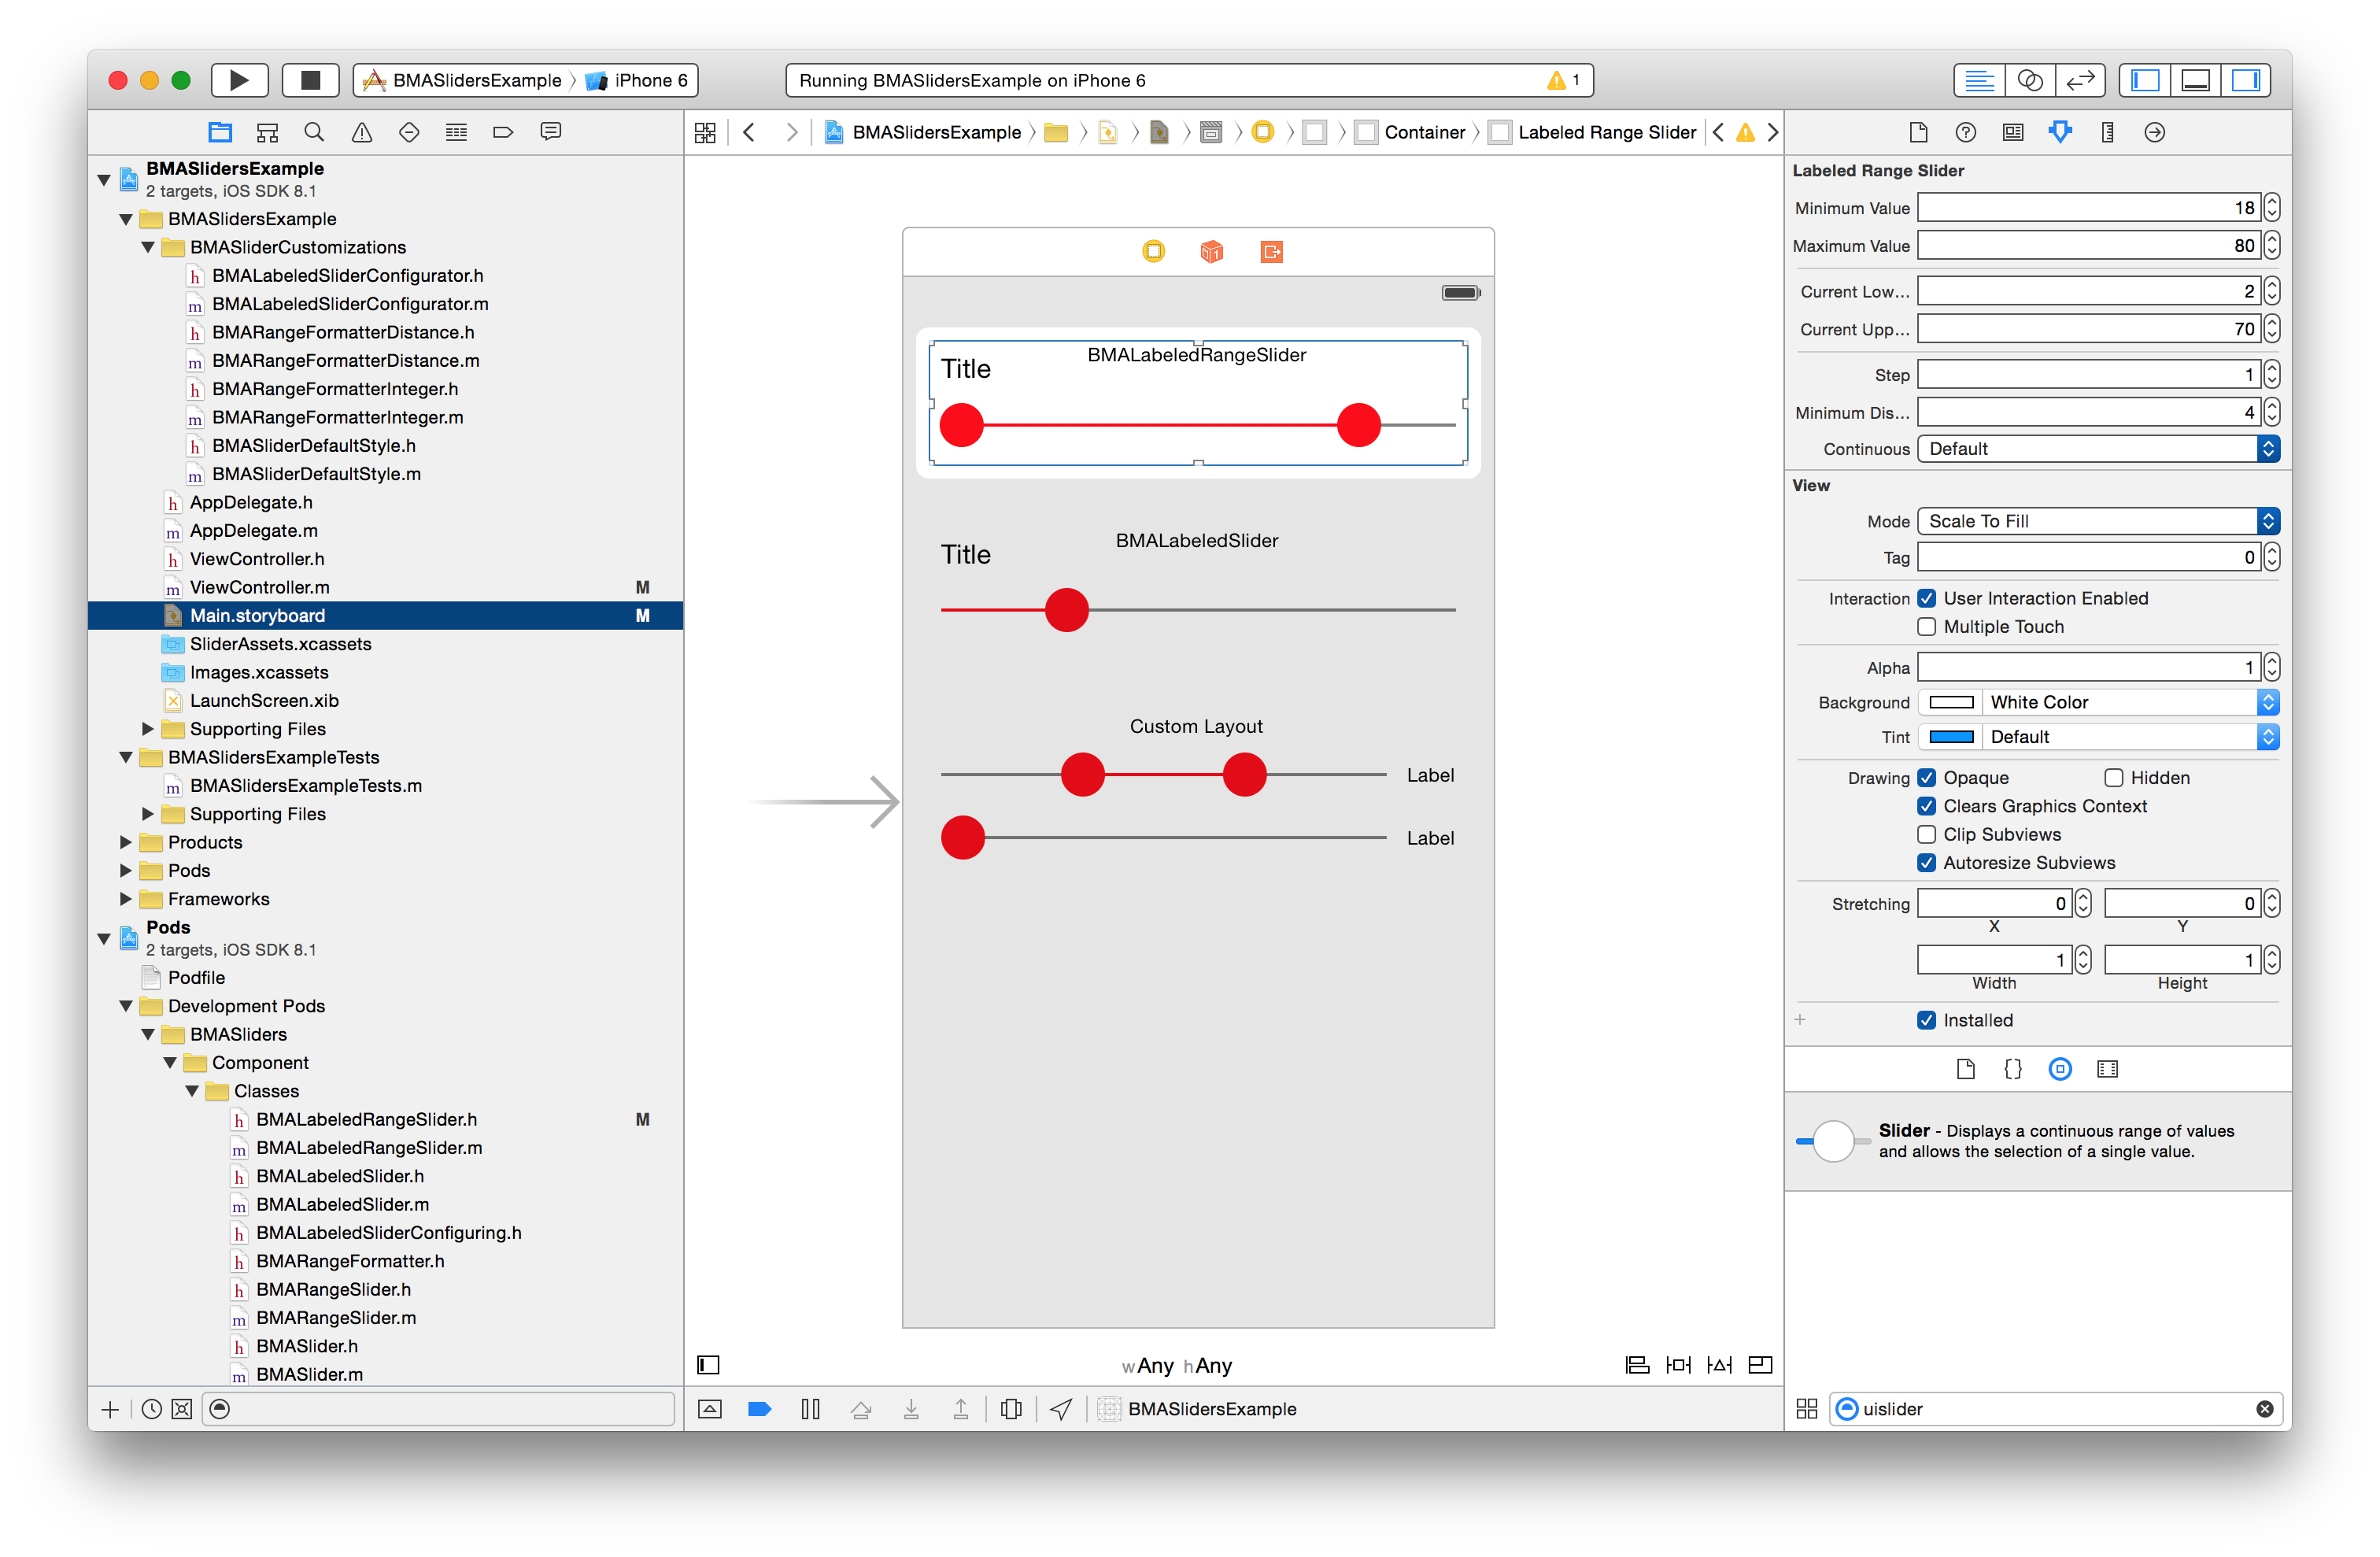
BMALabeledRangeSlider
BMALabeledRangeSlider provides a range slider with a title and a detail of the selected range. You can configure many of its properties by using Attributes inspector in Interface Builder. Alternatively, you can initialize in code as follows:
self.labeledRangeSlider.minimumValue = 0.;
self.labeledRangeSlider.maximumValue = 130.;
self.labeledRangeSlider.currentLowerValue = 30.;
self.labeledRangeSlider.currentUpperValue = 70.;
self.labeledRangeSlider.step = 1.;
self.labeledRangeSlider.minimumDistance = 4.;  // between handlers
self.labeledRangeSlider.style = [[BMASliderLiveRenderingStyle alloc] init];
self.labeledRangeSlider.title = [[NSAttributedString alloc] initWithString:@"My title"];
self.labeledRangeSlider.rangeFormatter = self.myRangeFormatter;
[self.labeledRangeSlider addTarget:self action:@selector(valueChanged) forControlEvents:UIControlEventValueChanged];
Everything should be self-explanatory but rangeFormatter and style. For rangeFormatter you must provide an object conforming to the BMARangeFormatter protocol:
@protocol BMARangeFormatter <NSObject>
@property (nonatomic) BOOL hasLowerValue;
@property (nonatomic) CGFloat lowerValue;
@property (nonatomic) CGFloat upperValue;
@property (nonatomic, getter=isOverflow) BOOL overflow;

- (NSAttributedString *)formattedString;
@end
When the selected range changes, BMALabeledRangeSlider will set properties hasLowerValue, lowerValue, upperValue and overflow to the rangeFormatter instance and will ask it for the string representation of the range by calling formattedString.
For the style property, you must supply an instance that returns the images for the handlers and the line backgrounds. BMASliderLiveRenderingStyle will be used by default in case you don't provide your own style.
@protocol BMASliderStyling <NSObject>
- (UIImage *)unselectedLineImage;
- (UIImage *)selectedLineImage;
- (UIImage *)handlerImage;
@end
For convenience, BMASliders support the UIAppearance protocol so you can easily style all the sliders in your app:
[BMARangeSlider appearance].style = [[BMASliderDefaultStyle alloc] init];
[BMASlider appearance].style = [[BMASliderDefaultStyle alloc] init];
BMALabeledSlider
BMALabeledRangeSlider provides a range slider with a title and a detail of the selected range. It works pretty much the same as BMALabeledRangeSlider, but it's got just a currentValue.
self.labeledSlider.minimumValue = 0.;
self.labeledSlider.maximumValue = 130.;
self.labeledSlider.currentValue = 60.;
self.labeledSlider.style = [[BMASliderDefaultStyle alloc] init];
self.labeledSlider.title = [[NSAttributedString alloc] initWithString:@"My title"];
self.labeledSlider.rangeFormatter = self.myRangeFormatter;
[self.labeledSlider addTarget:self action:@selector(valueChanged) forControlEvents:UIControlEventValueChanged];
Note that rangeFormatter must again conform to BMARangeFormatter protocol. In this case however, the slider will set hasLowerValue to false and currentValue will be assigned to the upperValue property.
BMARangeSlider and BMASlider
These are the non-labeled counterparts of BMALabeledRangeSlider and BMALabeledSlider. They don't have any title or rangeFormatter so they are easier to configure and can be used to render your custom layouts.
Live rendering
BMASliders takes advantage of IBInspectable and IBDesignable directives that allow you to see how the component renders in Interface Builder and change the slider's attributes by using the Attributes inspector.
How to install
Manually
- Clone, add as a submodule or download.
- Add all the files under
Componentto your project. - Make sure your project is configured to use ARC.
License
Source code is distributed under MIT license.