mtpFontManager


Android version is here
mtpFontManger is a font manager for iOS:
- Support custom fonts
- Apply to entire app
- Support Multiple fonts
- Change font at runtime
- Interface builder compatible
- Supports various styles and weights
- Supports dynamic types
Requirements
- iOS 8.2+
- Xcode 9+
Installation
mtpFontManager is available through CocoaPods. To install it, simply add the following line to your Podfile:
pod 'mtpFontManager'Usage
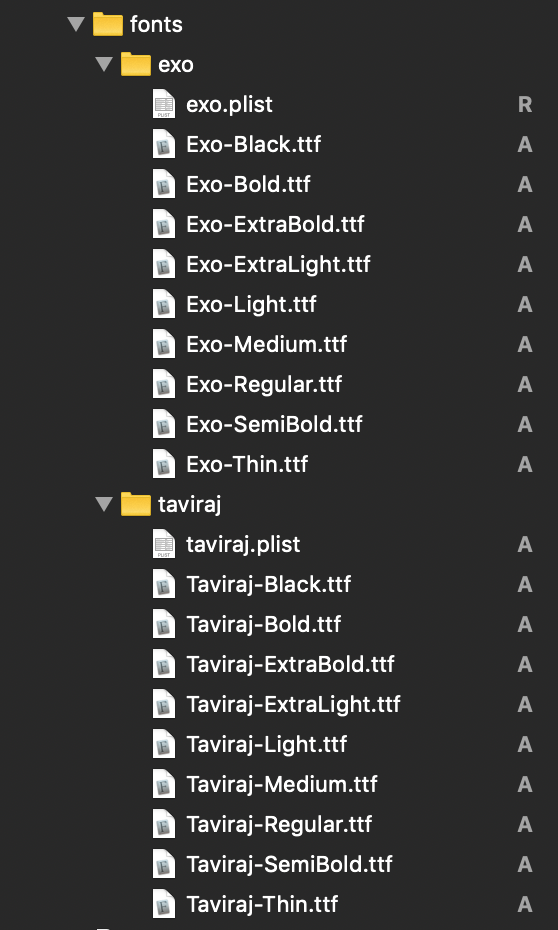
- Add your custom fonts to your project
-
Register your fonts
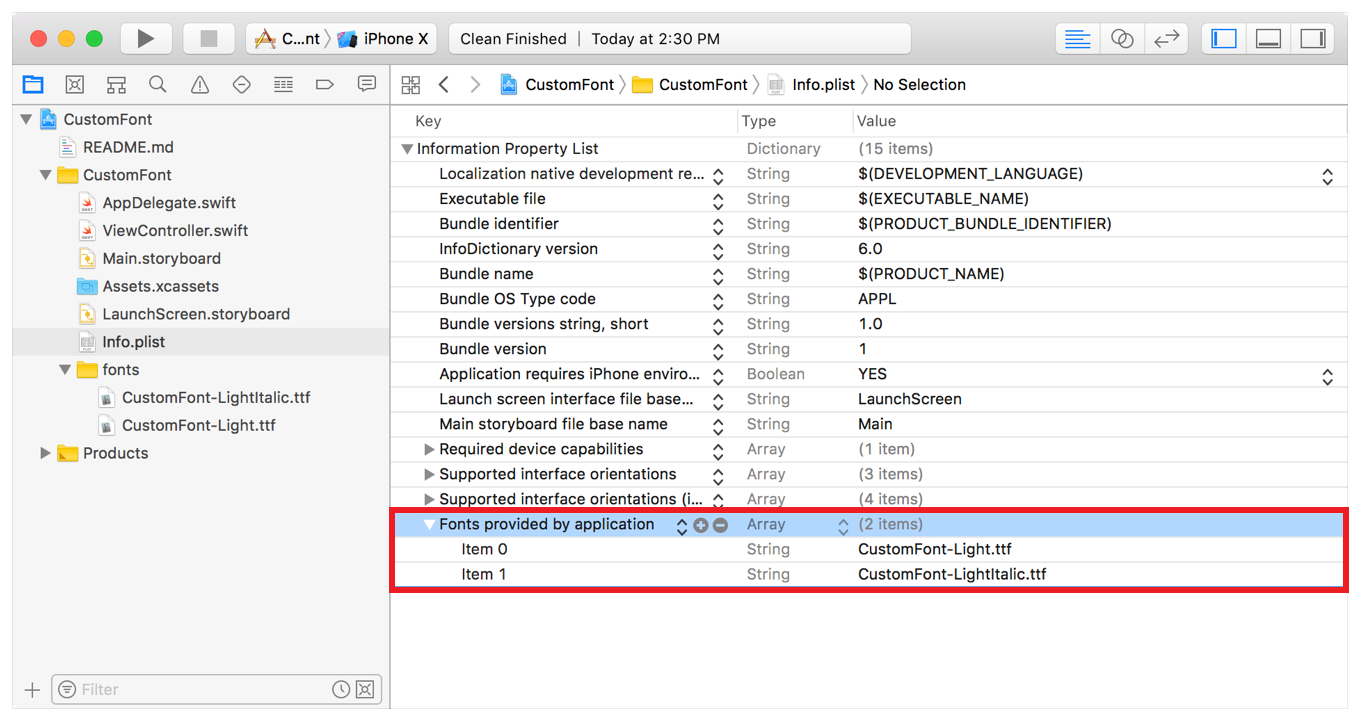
method1 : Register in Info.plist
After adding the font file to your project, you need to let iOS know about the font. To do this, add the key "Fonts provided by application" to Info.plist (the raw key name is UIAppFonts). Xcode creates an array value for the key; add the name of the font file as an item of the array. Be sure to include the file extension as part of the name.
method2 : Programmatically load custom fonts
To do this use FontBlaster library
First add FontBlaster library:
pod 'FontBlaster'Then load fonts added to the project using the following code:
FontBlaster.blast() -
Declare your fonts
lazy var exo: AppFont = {
    let font = AppFont(
        id: 1,
        familyName: "Exo",
        defaultFont: "Exo-Regular",
        ultraLight: "Exo-Thin",
        thin: "Exo-ExtraLight",
        light: "Exo-Light",
        regular: "Exo-Regular",
        medium: "Exo-Medium",
        semibold: "Exo-Semibold",
        bold: "Exo-Bold",
        heavy: "Exo-ExtraBold",
        black: "Exo-Black"
    )
    return font
}()
declare fonts in plist file
In addition to the above method, you also can define your fonts by using plist file,
To do this create new plist file and declare your font for various weights:
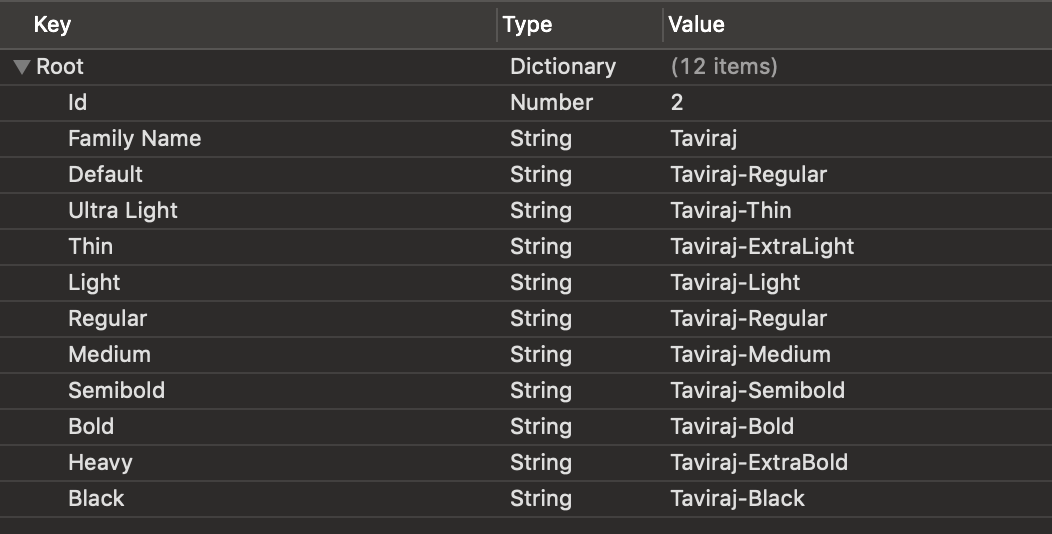
then use AppFont plist constructor:
lazy var taviraj: AppFont = {
	let font = AppFont(plist: "taviraj" /* plist file name */)
	return font
}()-
Use the font in the usual way
Interface Builder:
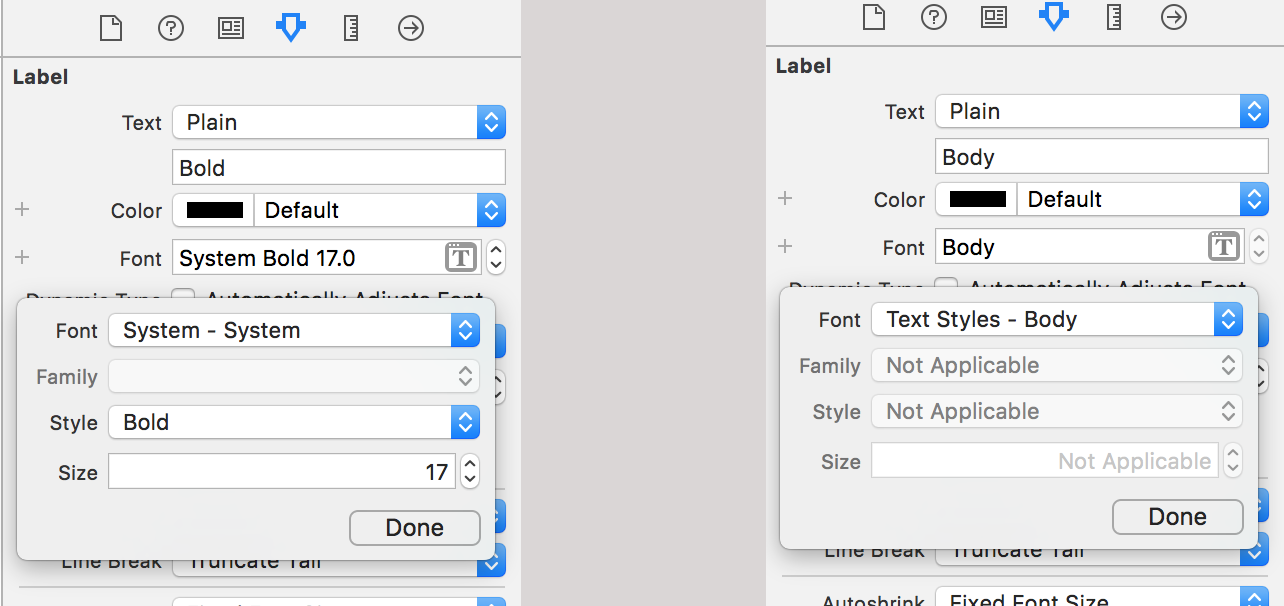
Or Programmically:
label.font=UIFont.preferredFont(forTextStyle: .body)
label2.font=UIFont.boldSystemFont(ofSize: 17.0)
Dynamic Types
If you want use dynamic types declare StyleWatcher in your view controller and watch views that use dynamic fonts , like this:
import UIKit
import mtpFontManager

class ViewController: UIViewController {
    @IBOutlet weak var label: UILabel!

    let watcher = StyleWatcher()

    override func viewDidLoad() {
        super.viewDidLoad()

        //if you want use dynamic types programmically, you must declare it before watch views
        label.font=UIFont.preferredFont(forTextStyle: .body)

        //whatch view that include the controls that use dynamic types
        watcher.watchViews(inView: view)

        //Or you can just watch spececific control that use dynamic types
        /*
            watcher.watchLabel(label: label)
            watcher.watchButton(label: button)
            watcher.watchTextField(label: textField)
            watcher.watchTextView(label: textView)
        */
    }
}- Any time you need to change the font of the application use the following code
FontManager.shared.currentFont = taviraj /* your desired font */- Thats it, enjoy it
Example
To run the example project, clone the repo, and run pod install from the Example directory first.
Inspiration
This project is heavily inspired by Gliphy.
Kudos to @Tallwave.
Author
Mostafa Taghipour, [email protected]
License
mtpFontManager is available under the MIT license. See the LICENSE file for more info.