RippleLayer 0.1.5
| TestsTested | ✗ |
| LangLanguage | SwiftSwift |
| License | MIT |
| ReleasedLast Release | Jul 2015 |
| SPMSupports SPM | ✗ |
Maintained by hadashiA.
RippleLayer 0.1.5
- By
- hadashiA
- hadashiA
RippleLayer
Overview
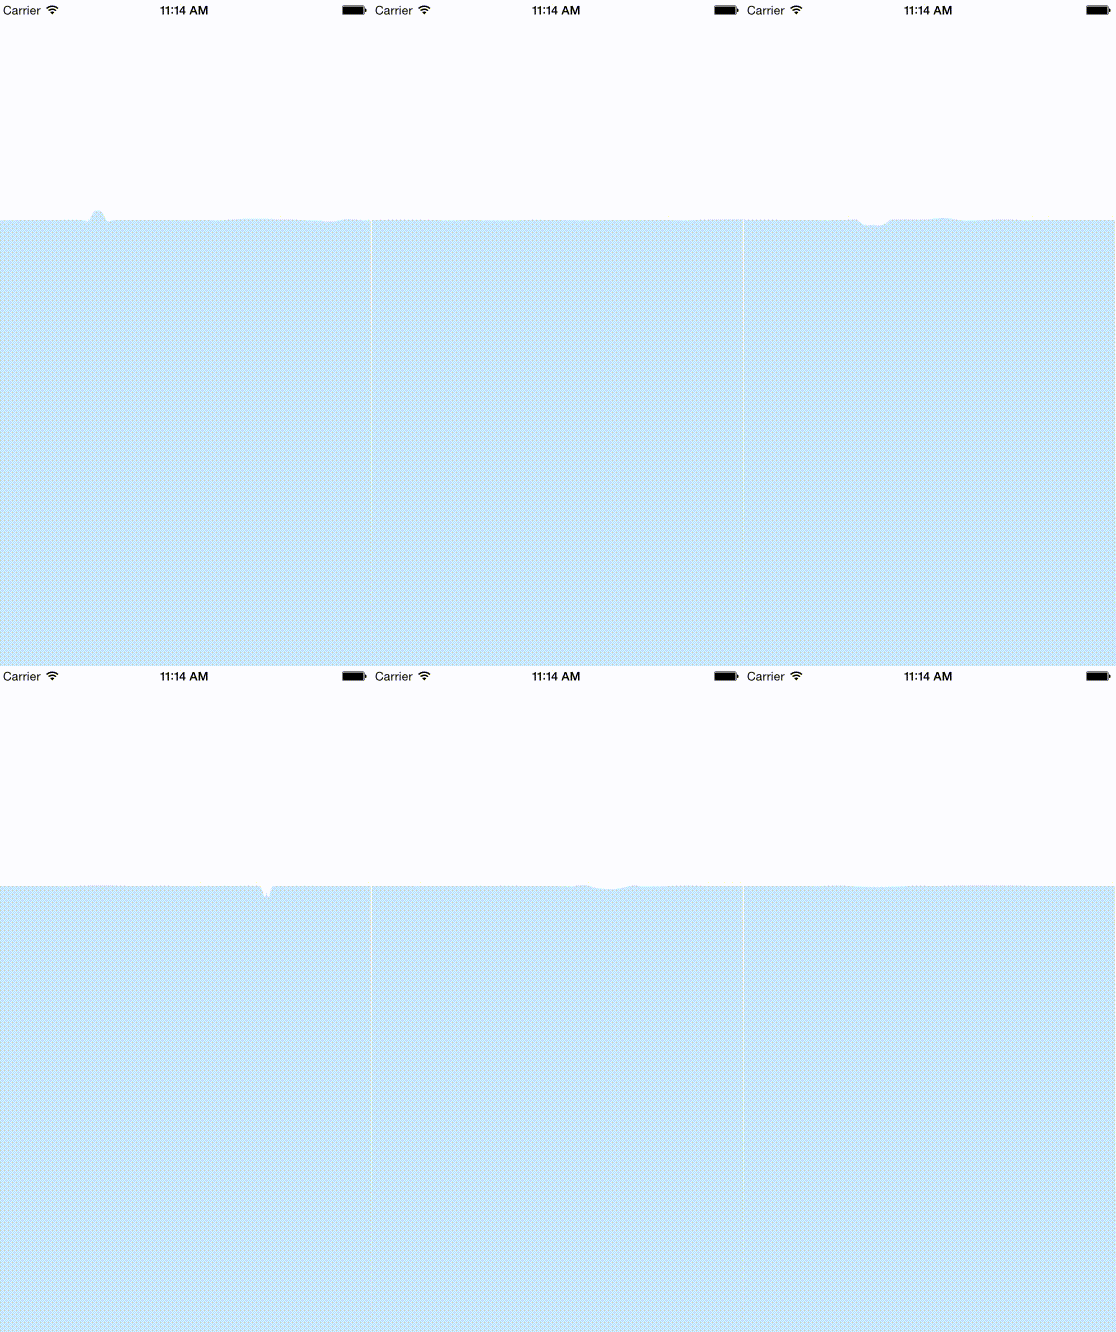
Draw splash effect using CGPath.
- Inspired d-harel/raindrops.
- Original algorithm is this article by Michael Hoffman
Example
To run the example project, clone the repo, and run pod install from the Example directory first.
Getting Started
Installation
RippleLayer is available through CocoaPods. To install it, simply add the following line to your Podfile:
pod "RippleLayer"Sample Usage
CALayer subclasses, have been RippleLayer to provide You can be inserted anywhere in the UIView.
class ViewController : UIViewController {
    override func viewDidLayoutSubviews() {
        super.viewDidLayoutSubviews()

        let rippleLayer = RippleLayer(
            size: myView.frame.size,
            numSprings: 320,
            random: true)
        rippleLayer.fillColor = UIColor(red: 204/255, green: 233/255, blue: 249/255, alpha: 1.0).CGColor
        myView.layer.addSublayer(rippleLayer)
   }
}
Make a UIView subclass if necessary.
Advanced Usage
RippleLayer Init(size:numSprings:random:)
| name | type | description |
|---|---|---|
| size | CGFloat | It will be drawn in this size, but sometimes Protrude by the height of the waves |
| numSprings | CGFlaot | Waves, are made with a large amount of Spring. We specify amount. |
| random | Bool | if true, random ripple |
RippleLayer rippleAt(i:height:)
Ripple in any position
| name | type | description |
|---|---|---|
| i | CGFloat | Ripple x position. Specify the index of spring. |
| height | CGFlaot | Ripple height |
Author
hadashiA, https://twitter.com/hadashiA
License
RippleLayer is available under the MIT license. See the LICENSE file for more info.

