Fun 0.1.0
| TestsTested | ✗ |
| LangLanguage | SwiftSwift |
| License | MIT |
| ReleasedLast Release | Apr 2017 |
| SwiftSwift Version | 3.0 |
| SPMSupports SPM | ✗ |
Maintained by Mohammed Frgallah.
Fun 0.1.0
- By
- frgallah
Fun
Introduction
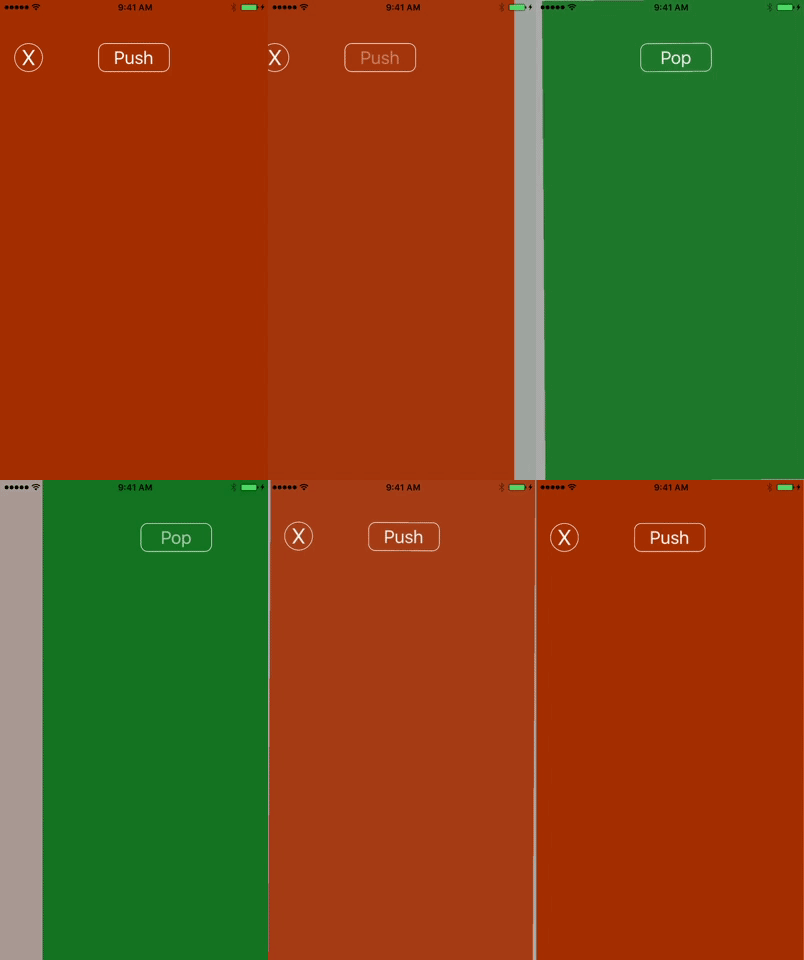
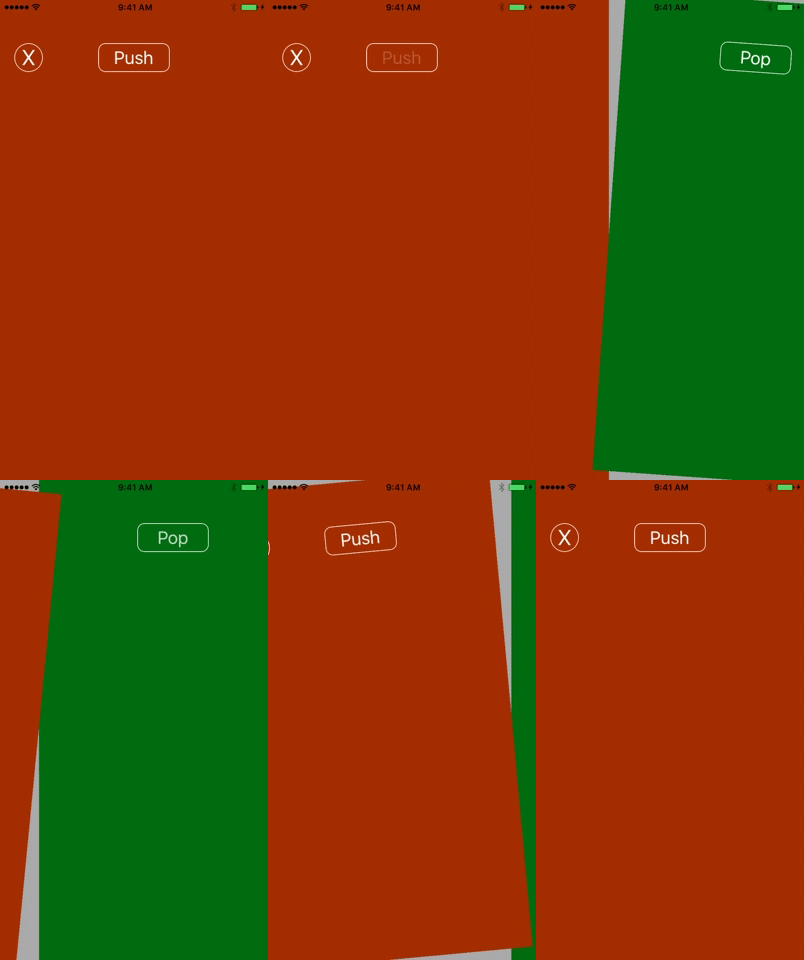
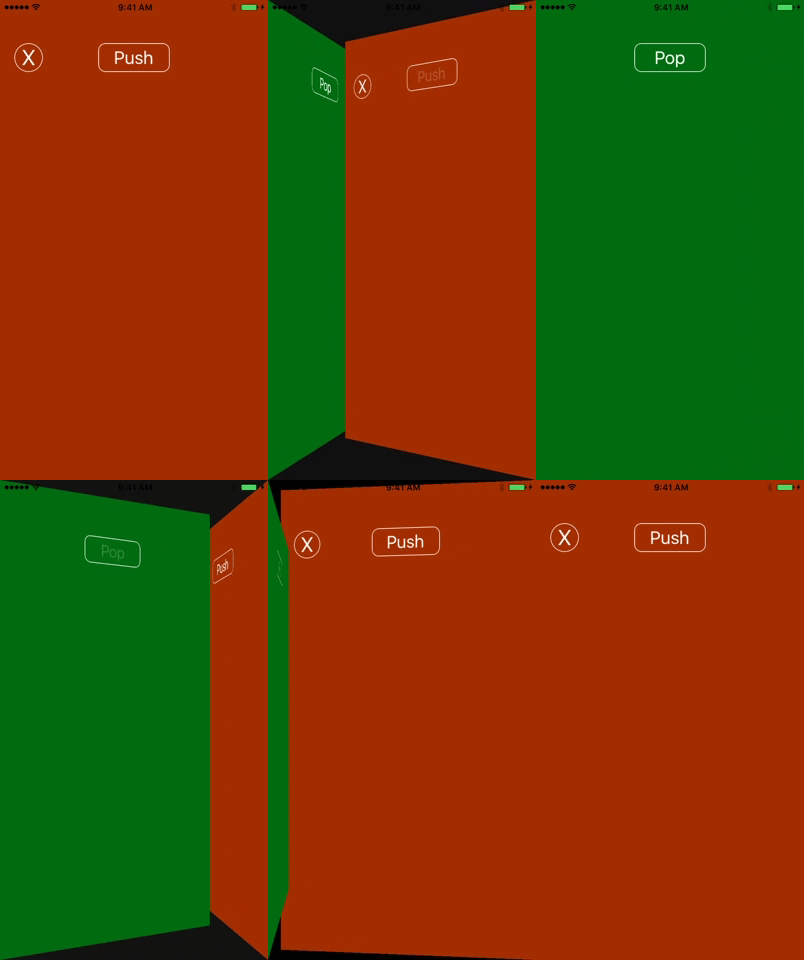
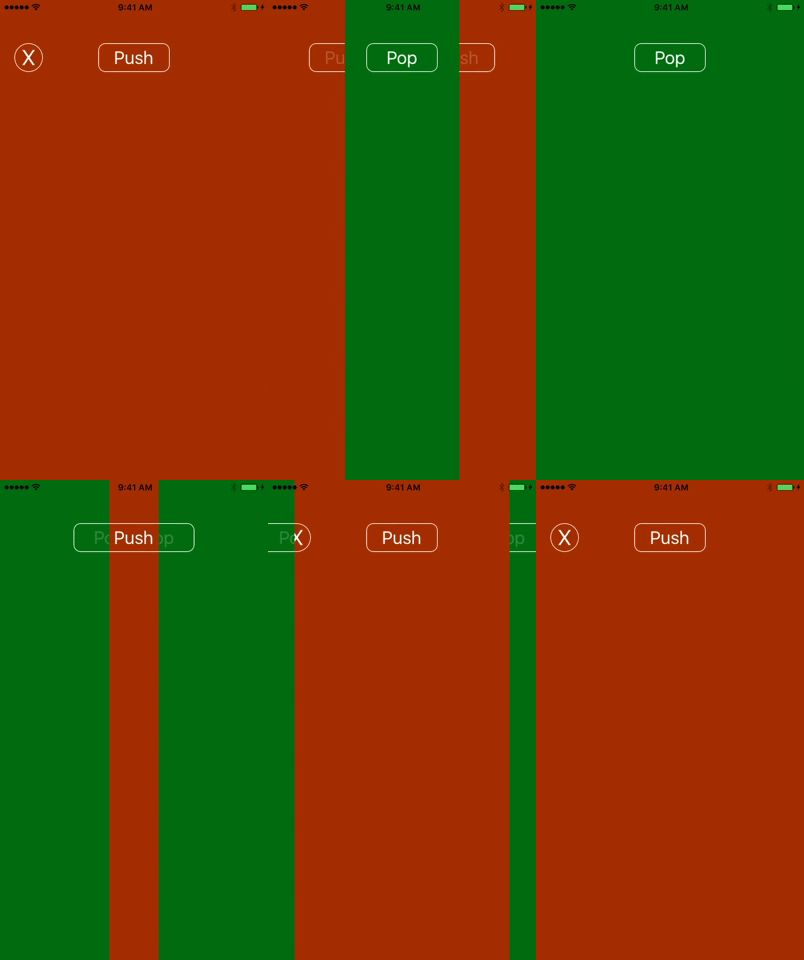
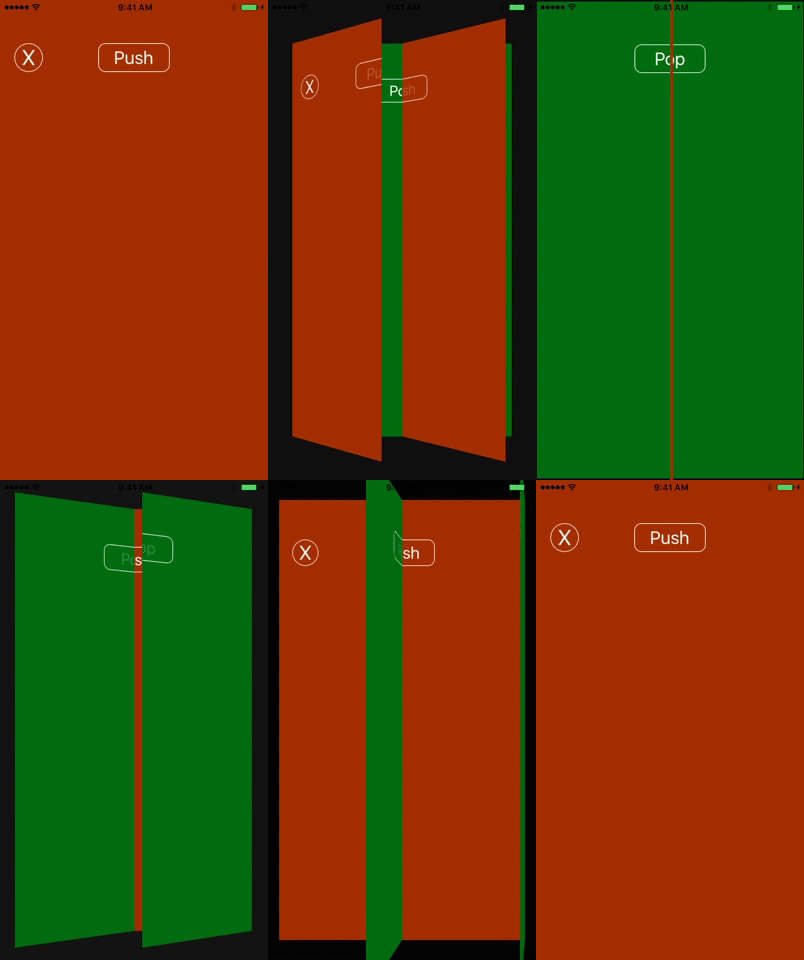
Fun is an Interactive Core Image transition for view controller, just for fun not for real Apps. By using a few lines of code you can get an elegant transition..
Requirements
- iOS 10.0+
- Xcode 8.2+
- Swift 3
Installation
Manually
Copy Sources folder to your Xcode project.
Usage
How to use Fun to create a custom transition:
Navigation and TabBar Controller
Code
In the root view controller or the first view controller:
- Get a reference to your Navigation or TabBar Controller
- Create a Navigation or TabBar Controller delegate using Navigation or TabBar Controller, transition type and is Interactive as parameters.
- Optional: in your delegate object
- set the transition duration
- set the gesture direction
- Your Done!
Navigation Controller
// In the root view  controller
override func viewDidLoad() {
super.viewDidLoad()
// 1-  Get a reference to your Navigation Controller
guard let navigationController = self.navigationController else {
return
}
// 2- Create a Navigation Controller delegate with :
let navigationControllerDelegate = FunNavigationControllerDelegate.init(navigationController: navigationController, transitionType: .ZoomBlur, isInteractive: true)
// 3- Optional: in your delegate object
//     - set the transition duration
//     - set the gesture direction
navigationControllerDelegate.duration = 1.4
navigationControllerDelegate.gesturePopDirection = .LeftToRight
}
TabBar Controller
// In the first view  controller
override func viewDidLoad() {
super.viewDidLoad()
// 1-  Get a reference to your TabBar Controller
guard let tabBarController = self.tabBarController else {
return
}
// 2- Create a tabBar Controller delegate with :
let tabBarControllerDelegate = FunTabBarControllerDelegate.init(tabBarController: tabBarController, transitionType: .ZoomBlur, isInteractive: true)
// 3- Optional: in your delegate object
//     - set the transition duration
//     - set the gesture direction
tabBarControllerDelegate.duration = 1.4
tabBarControllerDelegate.gestureDirection = .LeftToRight
}
Modal Controller
In code
In the source or presenting view controller:
- Create or get a reference to your destination controller
- set the modal Presentation Style of your destination controller to full screen
- Create a Modal Controller delegate using the destination controller and a transition type as parameters.
- Optional:
- make the transition interactive
- set the transition duration
- set the gesture direction
- Your Done!
// In the source or presenting view  controller:
@IBAction func presentViewControllerModally(_ sender: Any) {
// 1- Create your destination Controller
guard let destinationController = storyboard?.instantiateViewController(withIdentifier: "desVC") as? DestinationViewController else { return }
/*
or get a reference to your destination controller if you are using prepare for segue function

let destinationController = segue.destination

*/

// 2- set the modal Presentation Style of your destination controller to full screen
destinationController.modalPresentationStyle = .fullScreen
// 3- Create a Modal Controller delegate using the destination controller and a transition type as parameters.
let controllerDelegate = FunModalControllerDelegate.init(destinationController: destinationController, transitionType: .ZoomBlur)
// 4- Optional:
// - make the transition interactive
// supply a pan gesture if the destination controller view already has a one, if not do not warry about it, the Modal Controller Delegate will create one for you.
controllerDelegate.addInteractiveToDestinationController(panGesture: nil)
// - set the transition duration
controllerDelegate.duration = 2
// - set the gesture direction
controllerDelegate.gestureDismissalDirection = .RightToLeft
// - present the destination controller modally
present(destinationController, animated: true, completion: nil)
}
Example
To run the example project, clone the repo, and run pod install from the Example directory first.
Author
frgallah, [email protected]
Transitions
- [ ] GaussianBlur
- [ ] MotionBlur
- [x] Zoom Blur
- [ ] Bump
- [x] Circle Splash
- [ ] Droste
- [ ] Glass
- [ ] Light Tunnel
- [ ] Twirl
- [ ] Vortex
- [x] Circular Screen
- [ ] Dot Screen
- [ ] Line Screen
- [x] Crystallize
- [ ] Hexagonal Pixellate
- [ ] Pixellate
- [ ] Pointillize
- [ ] SpotLight
- [x] Kaleidoscope
- [ ] Triangle Kaleidoscope
- [ ] Triangle Tile
1. ZoomBlur
2. Crystallize
3. CircleSplash
4. CircularScreen
5. Kaleidoscope
License
MasterTransitions is available under the MIT license. See the LICENSE file for more info.
