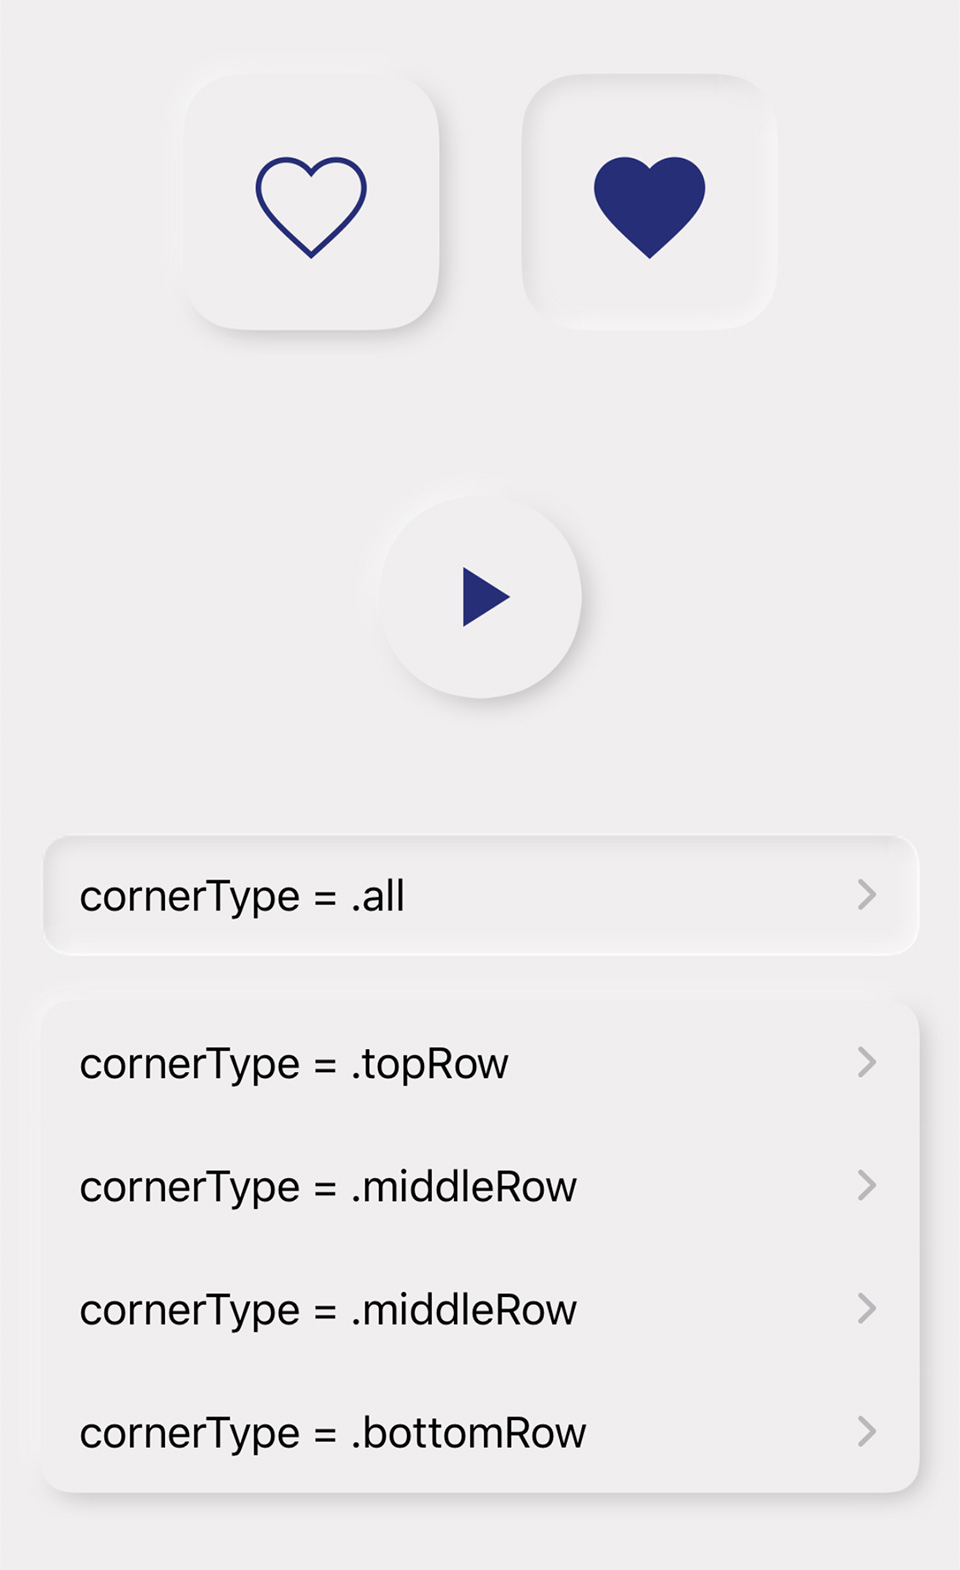
EMTNeumorphicView
UIKit views with Neumorphism style design.

Installation
EMTNeumorphicView is available through CocoaPods / Carthage / SwiftPM. To install it via CocoaPods, simply add the following line to your Podfile:
pod 'EMTNeumorphicView'Example
To run the example project, clone the repo, and run pod install from the Example directory first.
Usage
You can use EMTNeumorphicView / EMTNeumorphicButton / EMTNeumorphicTableCell. Each view is a subclass of UIView / UIButton/ UITableViewCell.
EMTNeumorphicView
    let myView = EMTNeumorphicView()
    myView.neumorphicLayer?.elementBackgroundColor = view.backgroundColor?.cgColor
    myView.neumorphicLayer?.cornerRadius = 24
    // set convex or concave.
    myView.neumorphicLayer?.depthType = .concave
    // set elementDepth (corresponds to shadowRadius). Default is 5
    myView.neumorphicLayer?.elementDepth = 7
EMTNeumorphicButton
Basically equivalent to EMTNeumorphicView.
    let button = EMTNeumorphicButton(type: .custom)
    button.setImage(UIImage(named: "heart-outline"), for: .normal)
    button.setImage(UIImage(named: "heart-solid"), for: .selected)
    button.contentVerticalAlignment = .fill
    button.contentHorizontalAlignment = .fill
    button.imageEdgeInsets = UIEdgeInsets(top: 26, left: 24, bottom: 22, right: 24)
    button.addTarget(self, action: #selector(tapped(_:)), for: .touchUpInside)

    button.neumorphicLayer?.elementBackgroundColor = view.backgroundColor?.cgColor

    @objc func tapped(_ button: EMTNeumorphicButton) {
        // isSelected property changes neumorphicLayer?.depthType automatically
        button.isSelected = !button.isSelected
    }
EMTNeumorphicTableCell
Do not use convex and concave together in the same section. It will cause a bad looking result.
    // change neumorphicLayer?.cornerType according to its row position
    var type: EMTNeumorphicLayerCornerType = .all
    if rowCount > 1 {
        if indexPath.row == 0 {
            type = .topRow
        }
        else if indexPath.row == rowCount - 1 {
            type = .bottomRow
        }
        else {
            type = .middleRow
        }
    }
    let cellId = String(format: "cell%d", type.rawValue)
    var cell = tableView.dequeueReusableCell(withIdentifier: cellId)
    if cell == nil {
        cell = EMTNeumorphicTableCell(style: .default, reuseIdentifier: cellId)
    }
    if let cell = cell as? EMTNeumorphicTableCell {
        cell.neumorphicLayer?.cornerType = type
        cell.neumorphicLayer?.elementBackgroundColor = view.backgroundColor?.cgColor
    }
Other Properties
    // Default is 1.
    myView.neumorphicLayer?.lightShadowOpacity = 1

    // Default is 0.3.
    myView.neumorphicLayer?.darkShadowOpacity = 1

    // Optional. if it is nil (default), elementBackgroundColor will be used as element color.
    myView.neumorphicLayer?.elementColor = UIColor.red.cgColor

    // Adding a thin border on the edge of the element.
    myView.neumorphicLayer?.edged = true
Requirements
Swift 5 / iOS 13
License
EMTNeumorphicView is available under the MIT license. See the LICENSE file for more info.