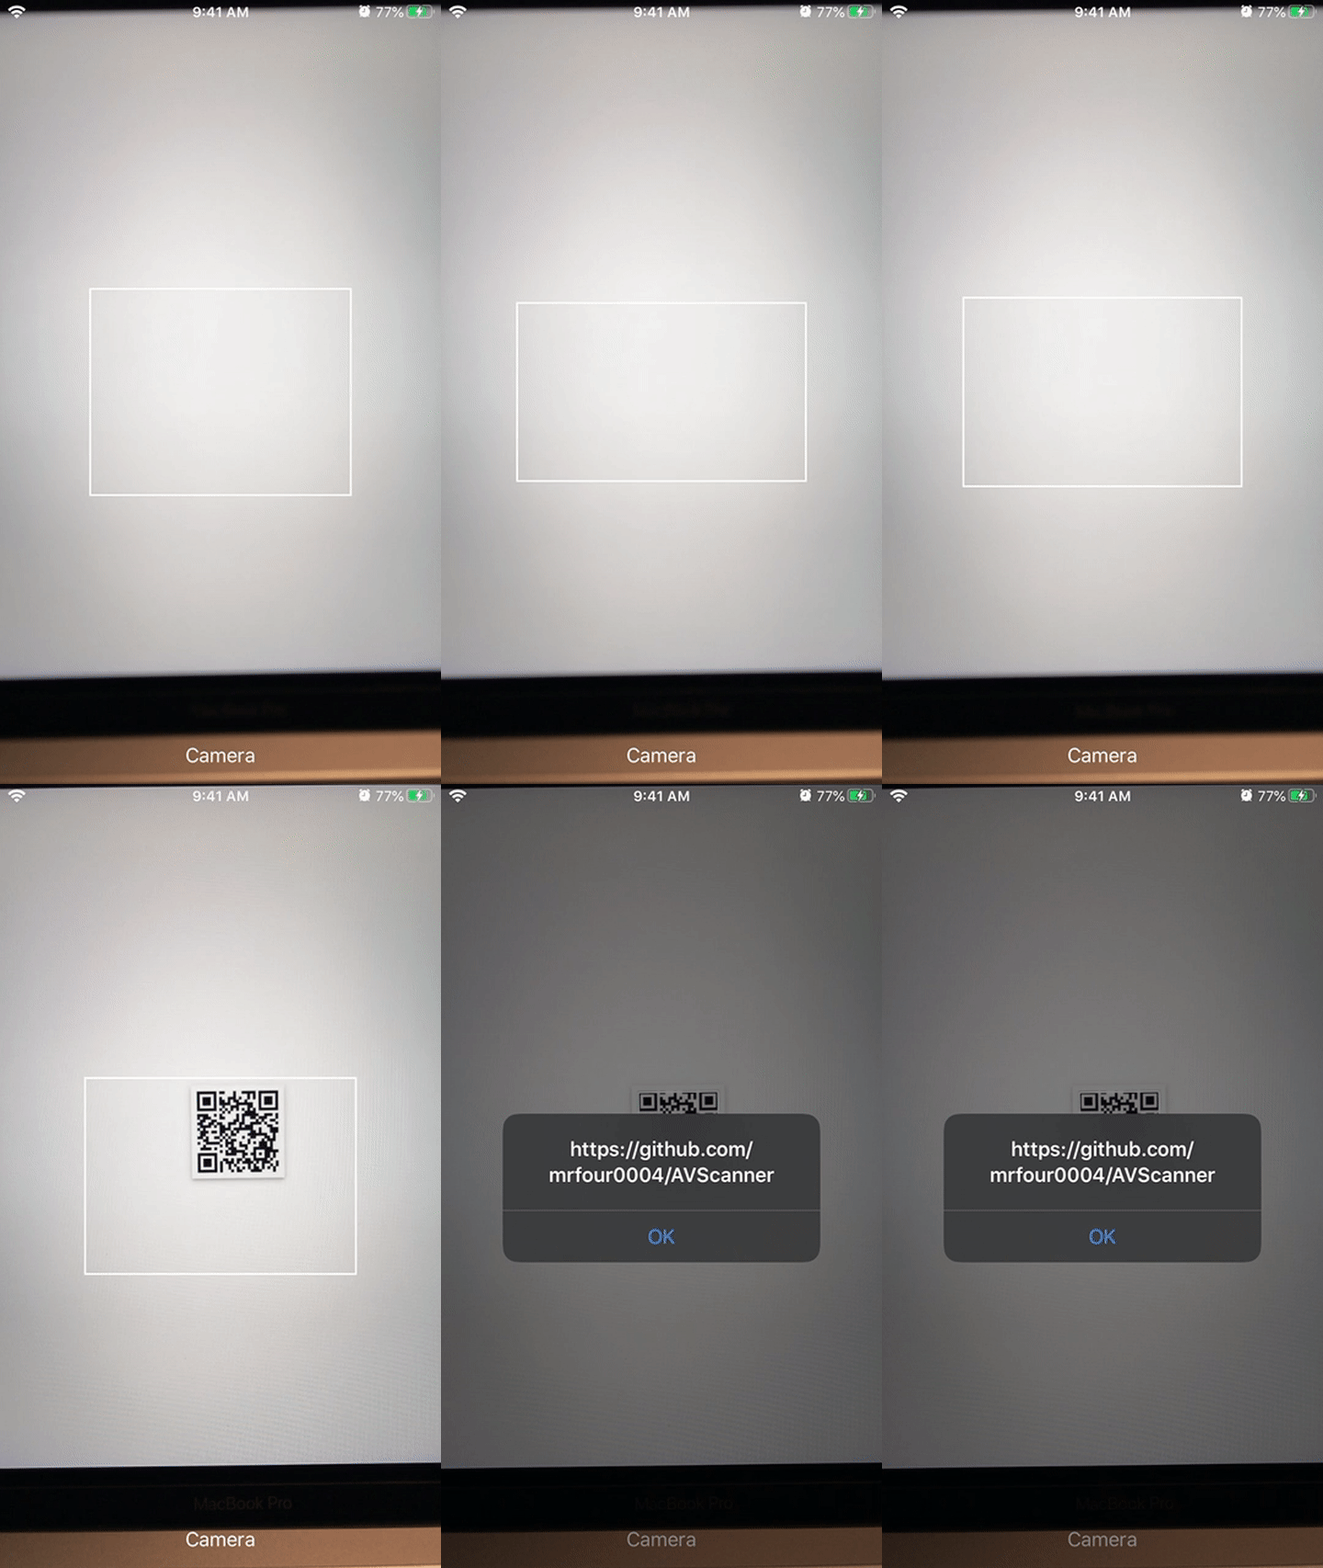
AVScanner
Example
To run the example project, clone the repo, and run pod install from the Example directory first.
Reguirement
- iOS 10.0+
- Xcode 11.0+
- Swift 5.1+
Installation
CocoaPods
AVScanner is available through CocoaPods. To install it, simply add the following line to your Podfile:
pod "AVScanner"Usage
Using AVScannerViewController directly.
Imports AVScanner and AVFoundation into you swift file.
import AVScanner
import AVFoundation
Subclasses AVScannerViewController, which contains a scannerView and conforms to AVScannerViewDelegate. And then overrides scannerView(_:didCapture:), that's it!
class ScannerViewController: AVScannerViewController {
    // ...

    override func scannerView(_ scannerView: AVScannerView, didCapture metadataObject: AVMetadataMachineReadableCodeObject) {
        // handle the captured metadataObject here
    }
}
You may also need to handle errors occur during initializing or starting the capture session:
override func scannerView(_ scannerView: AVScannerView, didFailConfigurationWithError error: Error) {
    guard let scannerError = error as? AVScannerError else { return }
    switch scannerError {
    case .videoNotAuthorized:
        print("The user didn't authorize to access the camera yet.")
    case .configurationFailed:
        print("This device somehow can't capture videos.")
    }
}

func scannerView(_ scannerView: AVScannerView, didFailStartingSessionWithError error: Error) {
    // ...handle the error here
}
Using AVScannerView and AVScannerViewDelegate
If you want to customize your view controller without using AVScannerViewController, you can simply add an instance of AVScannerView into your customized view controller by yourself.
class MyScannerViewController: UIViewController {
    let scannerView = AVScannerView() // you can also use an @IBOutlet here.

    override func viewDidLoad() {
        super.viewDidLoad()
        // setup your scanner view here or layout it with auto-layout in the storyboard.
    }
}
Then you can decide when to initialize the capture session, for example, you might want to present another view to describe your page and provide a button to let the user decide whether to authorize the camera access. To initialize the capture session, simply call
scannerView.initSession()There might be an error when initializing the capture session, remember to assign an object of AVScannerViewDelegate to handle that error. After the session is initialized, you can start running the capture session by calling.
scannerView.startSession()Make sure you call initSession() without error before calling startSession()
Change the supported type of barcodes
// The default value of supportedMetadataObjectTypes only includes `.qr`.
scannerView.supportedMetadataObjectTypes = [.qr, .pdf417]
For more detail, please refer to the exemple project and feel free to contact me.
License
AVScanner is available under the MIT license. See the LICENSE file for more info.


