


SwiftUI is a declarative UI layouting framework. HierarchyUI is a declarative UI navigation construction framework.
As Apple states in its official documentation: SwiftUI uses a declarative syntax, so you can simply state what your user interface should do. For example, you can write that you want a list of items consisting of text fields, then describe alignment, font, and color for each field. Your code is simpler and easier to read than ever before, saving you time and maintenance.
SwiftUI's implementation implies that Navigation is embedded into UI layout, within NavigationLink. That creates some limitation in terms of different architectures which tend to separate UI from business and navigation logic.
HierarchyUI provides a way to create a readable and simple way to create a declarative Navigation structure separately, without mixing it with UI.
Your whole navigation structure can be in one file, the example of such navigation is:
import HierarchyUI

struct ExampleMainNavigationHierarchy: NavigationHierarchy {
    func structure() -> NavigationHierarchyRoute {
        View1().route(key: "1").pushes {
            View2().route(key: "2").pushes {
                View3().route(key: "3").pushes {
                    View4().route(key: "4").pushes {
                        [
                            View5().route(key: "5"),
                            View6().route(key: "6").pushes {
                                View8().route(key: "8").pushes {
                                    View9().route(key: "9").pushes {
                                        View10().route(key: "10").pushes {
                                            View11().route(key: "11").replaces {
                                                ExampleTabBarHierarchy().structure()
                                            }
                                        }
                                    }
                                }
                            },
                            View7().route(key: "7"),
                        ]
                    }
                }
            }.modals {
                View12().route(key: "12").pushes {
                    View13().route(key: "13").pushes {
                        View14().route(key: "14")
                    }
                }
            }
        }
    }
}Let us consider you have several Views:
View1 View2 View3
And you need to organize them into simple push/pop navigation stack.
For that, you need to create a separate NavigationHierarchy:
| Here's an example | Here's the initial rendering result |
|---|---|
| Create a `NavigationHierarchy` | 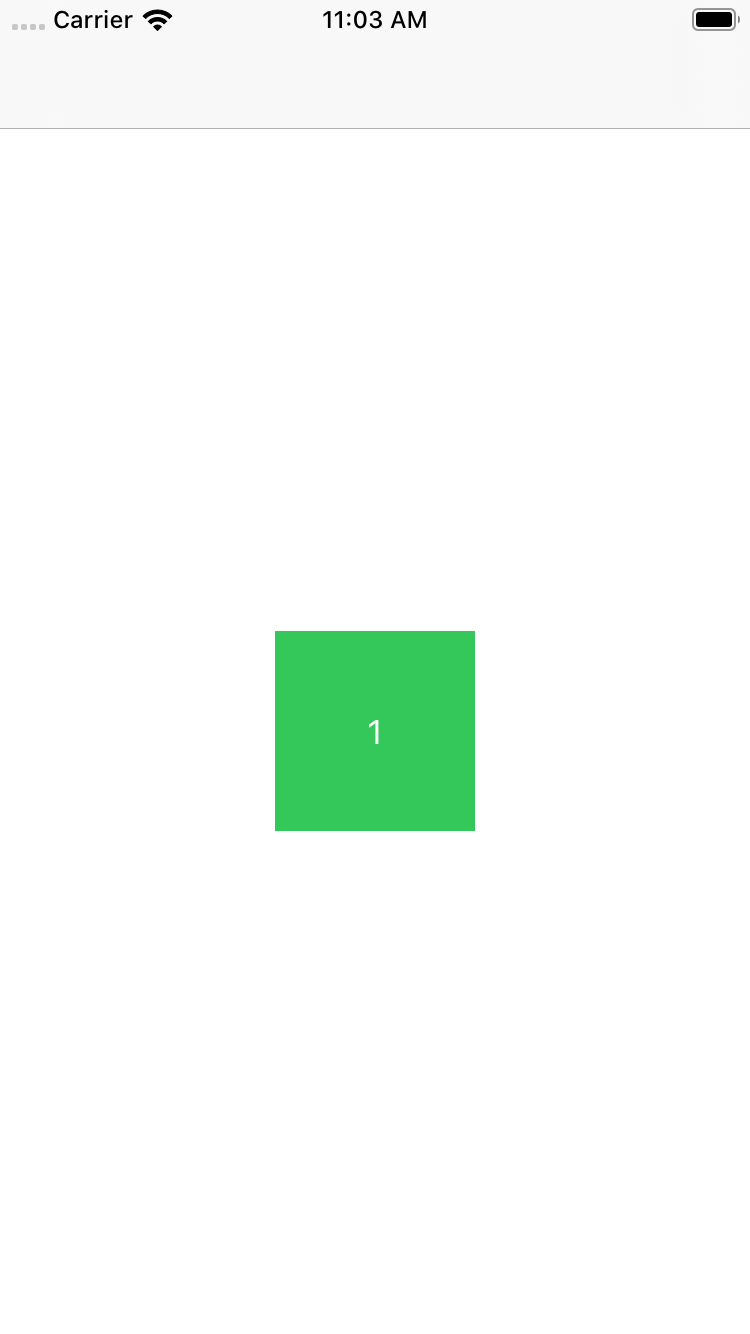 |
struct MainNavigationHierarchy: NavigationHierarchy {
    func structure() -> NavigationHierarchyRoute {
        View1().route(key: "1").pushes {
            View2().route(key: "2").pushes {
                View3().route(key: "3")
            }
        }
    }
}
|
|
| and then render this hierarchy within AppDelegate | |
@UIApplicationMain
final class AppDelegate: UIResponder, UIApplicationDelegate { |
where .route(key: AnyHashable) creates a route in NavigationHierarchy, and .pushes {} method of
View/NavigationHierarchyRoute determines which View is going to be pushed next from destination View.
To control Navigation, you need to declare Navigation EnvironmentObject inside your View.
| Navigation Example | How it looks |
|---|---|
| Create a `View` with EnvironmentObject |  |
struct View1: View {
@EnvironmentObject var navigation: HierarchyNavigator |
|
| And then invoke push method | |
struct View1: View {
@EnvironmentObject var navigation: HierarchyNavigator |
/// Startup
struct AppStartupNavigationHierarchy: NavigationHierarchy {
    func structure() -> NavigationHierarchyRoute {
        SplashLoadingView().route(key: "Splash").pushes {
            [
                MainScreenNavigationHierarchy().structure()
                AuthorizationFlowNavigationHierarchy().structure(),
            ]
        }
    }
}

/// Authorization Flow
struct AuthorizationFlowNavigationHierarchy: NavigationHierarchy {
    func structure() -> NavigationHierarchyRoute {
        LandingView().route(key: "Landing").pushes {
            LoginView().route(key: "Login").pushes {
                PasswordView().route(key: "Password").replaces {
                    MainScreenNavigationHierarchy().structure()
                }
            }
        }
    }
}

/// Main Screen
struct MainScreenNavigationHierarchy: NavigationHierarchy {
     func structure() -> NavigationHierarchyRoute {
        TabBarHierarchy(key: "MainTabBar", initialTabIndex: 0)
            .tab(tabBarSystemItem: .bookmarks) {
                BookmarksView().route("Bookmarks").pushes {
                    BookmarksDetailsView().route("BookmarksDetails")
                }
                .modals {
                    BookmarksTutorialView().route("Bookmarks Tutorial View")
                }
            }
            .tab(tabBarSystemItem: .contacts) {
                 ContactsView().route("Contacts").pushes {
                    ContactsDetailsView().route("ContactsDetails")
                }
                .modals {
                    ContactsTutorialView().route("Contacts Tutorial View")
                }
            }
            .tab(tabBarSystemItem: .downloads) {
                 DownloadsView().route("Downloads").pushes {
                    DownloadsDetailsView().route("DownloadsDetails")
                }
                .modals {
                    DownloadsTutorialView().route("Downloads Tutorial View")
                }
            }
            .tab(tabBarSystemItem: .favorites) {
                FavoritesView().route("Favorites").pushes {
                    FavoritesDetailsView().route("FavoritesDetails")
                }
                .modals {
                    FavoritesTutorialView().route("Favorites Tutorial View")
                }
            }
            .build()
    }
}Swift 5.x iOS 13.0+
HierarchyUI is available through CocoaPods. To install it, simply add the following line to your Podfile:
pod 'HierarchyUI'idemche, idemche@gmail.com
HierarchyUI is available under the MIT license. See the LICENSE file for more info.