TableScrollNavigation 0.1.1
| TestsTested | ✗ |
| LangLanguage | SwiftSwift |
| License | MIT |
| ReleasedLast Release | Mar 2016 |
| SPMSupports SPM | ✗ |
Maintained by Cyrus Chan.
TableScrollNavigation 0.1.1
- By
- Cyrus Chan
TableScrollNavigation
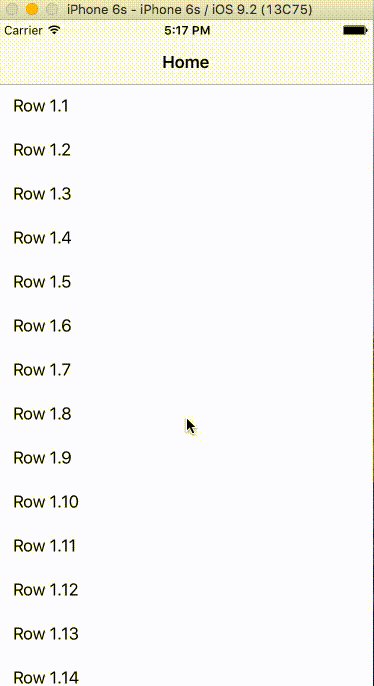
Screenshot
Usage
To run the example project, clone the repo, and run pod install from the Example directory first.
Make sure to use subclass of TableScrollNavigationController for your UINavigationController and subclass of TableScrollNavigationViewController for your UIViewController.
TableScrollNavigationController
This is the class that will create the navigation table on top of the navigation bar for you. You usually don’t have to do anything for this class. You can either set the class of your UINavigationController in your storyboard, or create programmatically a TableScrollNavigationController instance in your code.
TableScrollNavigationViewController
This class will attach the scroll view you have to the navigation bar(bar + table on top of it) so it will follow the scroll with the scroll view. It will also push a navigation item to TableScrollNavigationController to add the item on the table on top of the navigation bar.
Use attachScrollableView(_:) to attach your scrollView so navigation bar will start follow it.
    override func viewDidLoad() {
        attachScrollableView(tableView)

        super.viewDidLoad()
    }
Use pushViewController(_:animated:title:) to push VC to TableScrollNavigationController and add an item to the table on top of the navigation bar.
    func tableView(tableView: UITableView, didSelectRowAtIndexPath indexPath: NSIndexPath) {
        let vc = self.storyboard?.instantiateViewControllerWithIdentifier("ViewController") as! ViewController
        if let nc = navigationController as? TableScrollNavigationController{
            nc.pushViewController(vc, animated: true, title: "Section 2.1")

        }
    }
Installation
TableScrollNavigation is available through CocoaPods. To install it, simply add the following line to your Podfile:
pod "TableScrollNavigation"Author
Cyrus Chan, [email protected]
License
TableScrollNavigation is available under the MIT license. See the LICENSE file for more info.